Evolution of a Painting

fountain with tree

fountain with tree

A painting starts with a series of sketches.  To get to this point there are several hours of research, designing, discussions with the client, revisions, then final approval.  Sometimes the sketch is done in color. For this piece, we had images of stone that we selected for age, color and patina.

IMG_1099

IMG_1099

I usually start with an underpainting of values to help create the depth before adding color. This also helps with getting to the right value without a ton of paint. I don't always do this, but for Trompe L'oeil it helps me see the dimension and establish light and shadow placement.

IMG_1145

IMG_1145

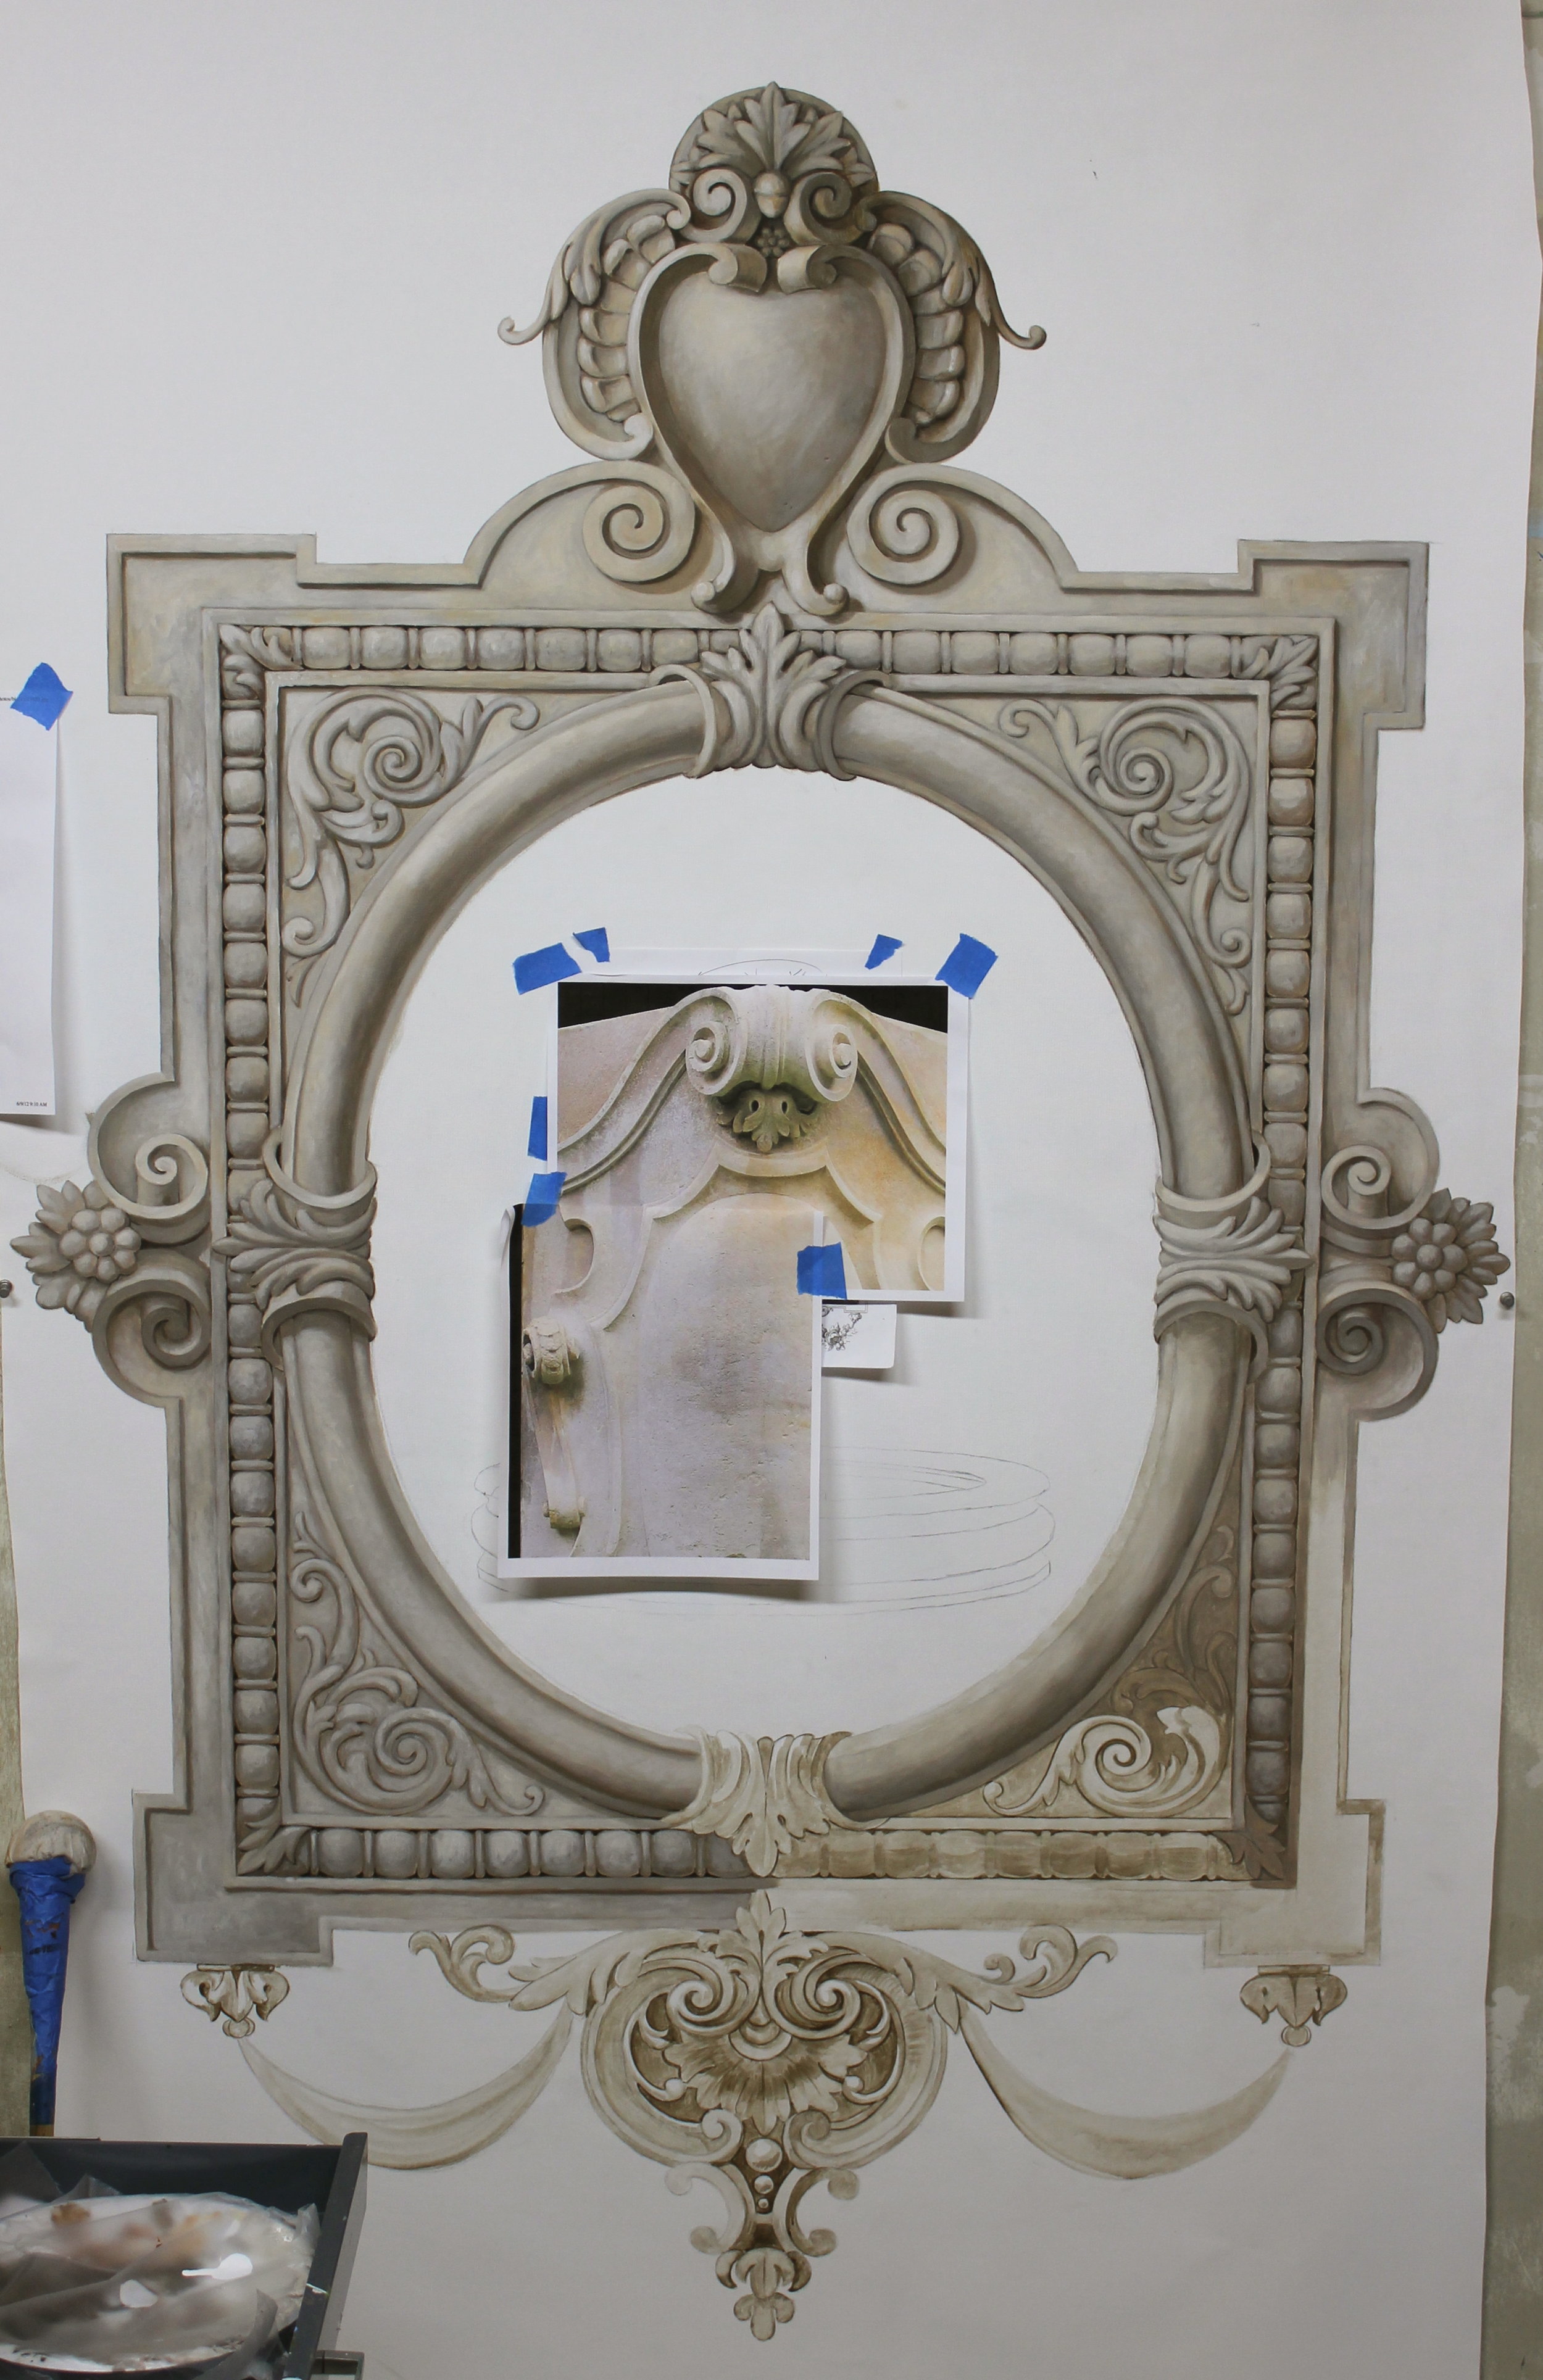
Next I add the tones of the stone.  I premix my main colors and tweak them on the palette as I go.  This piece has a lot of warm shadows and cool highlights.  You can also see my reference material.  I spend countless hours searching for the right references.  Without them, I am unable to really replicate the natural qualities of the material.

IMG_1151

IMG_1151

IMG_1148

IMG_1148

Once the main areas are blocked in, I like to go back and tweak areas to make sure its cohesive.  The center will have a very specific image that will look like a bas relief carving.  I shot reference photos, including Mike's hands pouring water.  The water in the carving was the most difficult. I wanted it to look fluid but at the same time it had to be "carved" out of the stone.

IMG_1272

IMG_1272

IMG_1213

IMG_1213

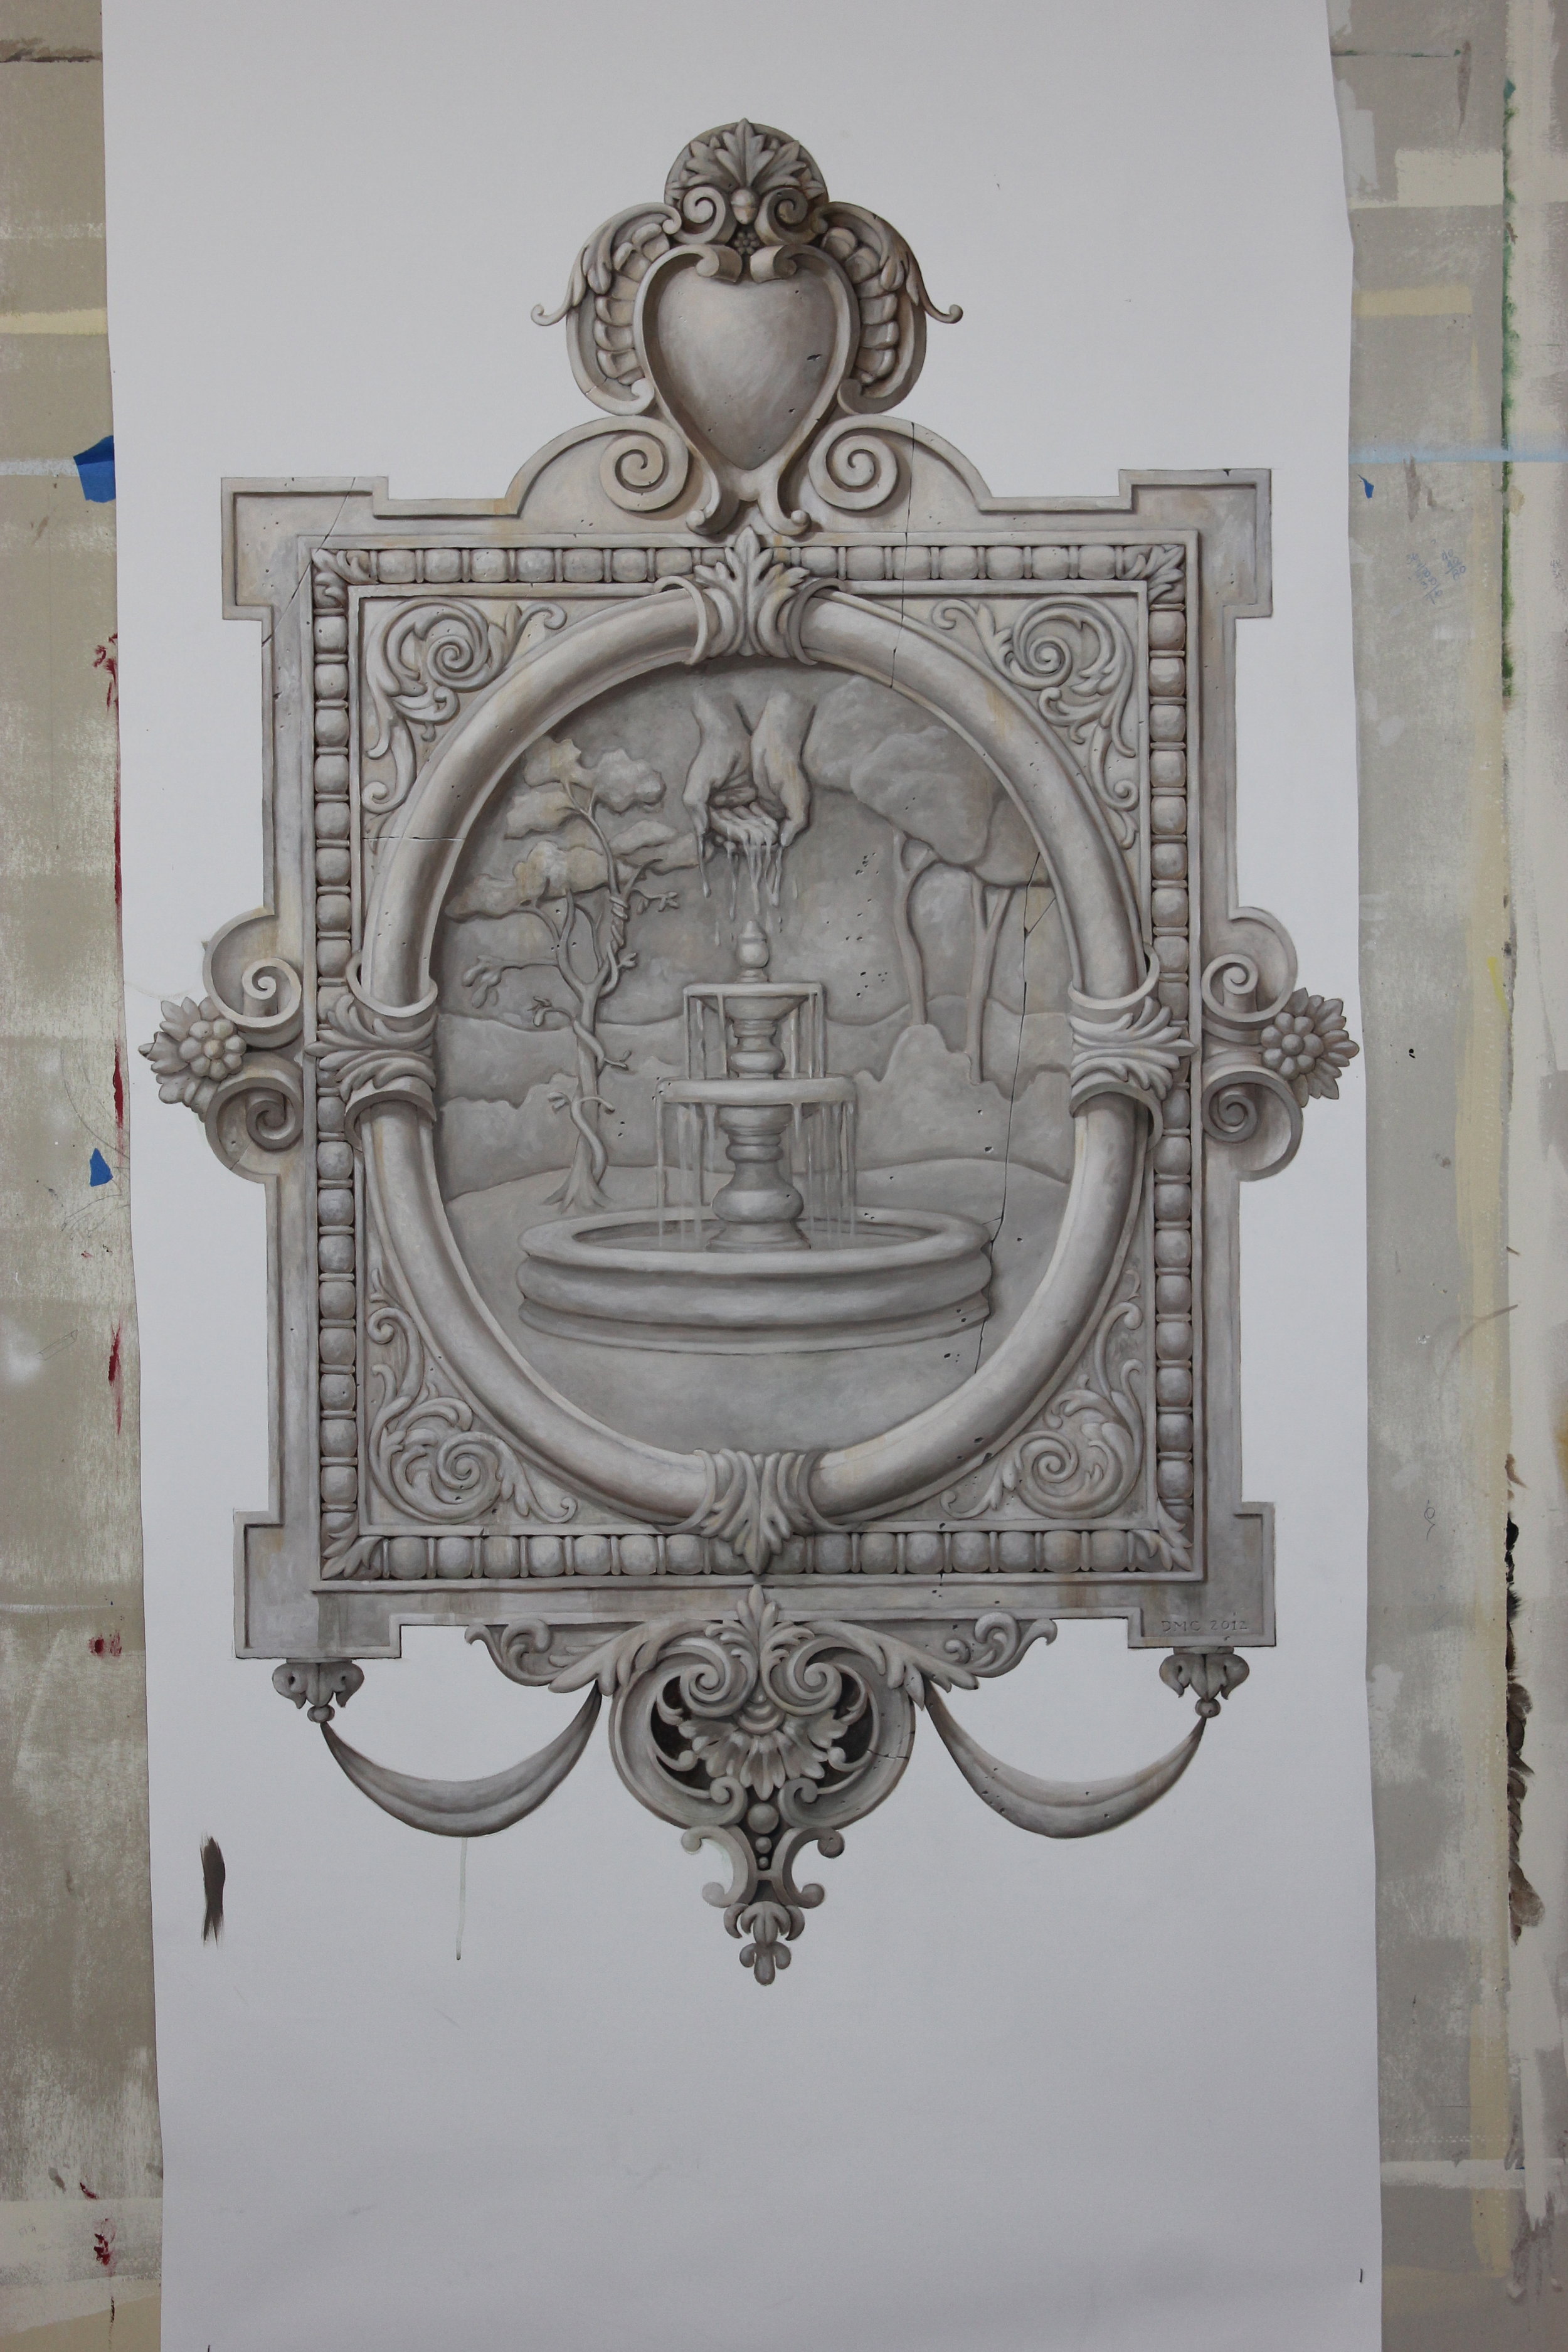
The final piece, varnished before cutting and installation. You can see the pitting and cracking that I added for authenticity.

IMG_1268

IMG_1268

IMG_1236

IMG_1236

IMG_1244

IMG_1244

Installation was done by Shelly Wilkins of Walls Etc.

2012-07-10_10-52-20_0

2012-07-10_10-52-20_0

And the final result:

IMG_1421

IMG_1421

Tada!

I added shadowing on the wall once it was installed.

A note on canvas installation vs painting on site...

I really prefer to paint on canvas to painting on site for several reasons.  It allows me to paint in the comfort of my studio, and the client doesn't have to put up with me for the weeks it takes to do the work.  It also allows the painting to become transportable.  In the case of a move, it is very easily taken down with some warm soapy water.  The investment is not left behind! Its great for kids rooms too.

The art of painting on canvas and adhering it to the wall is a 3000 year old method referred to as "marouflage." You can learn more about the technique here.

Some public examples of this type of work can be seen at the Library of Congress, The Capitol Building, the Biltmore Estate, and countless others.

Casual Elegance

IMG_0539

IMG_0539

As promised, here's the latest project I completed. First off, the ceiling in the family room had some great beams but felt cold left white. We decided to woodgrain them to match the other wood tones throughout the home.  The centers of the coffers were treated with a custom textural paint/plaster to create a more casual feel compared to the foyer, living, and dining rooms because this is where the family gathers.

2012-04-17_15-08-46_77

2012-04-17_15-08-46_77

Progress...the beams were treated first.The area on the left has the second layer of woodgraining while the right only has the first layer.

2012-04-20_16-23-26_323

2012-04-20_16-23-26_323

Here you can see the finished look at the top of the picture. The bottom three have the texture applied but haven't been glazed yet.

And...(drum roll please)......

IMG_0811

IMG_0811

Tada!

Here's some closer shots taken from the balcony

IMG_0890

IMG_0890

IMG_0892

IMG_0892

And here are the other three ceilings completed while on the project.

IMG_0901

IMG_0901

Living room

IMG_0905

IMG_0905

Dining Room (Medallion treated also)

IMG_0803

IMG_0803

Vestibule (This finish was really fun to do and would look great anywhere!)

IMG_0879

IMG_0879

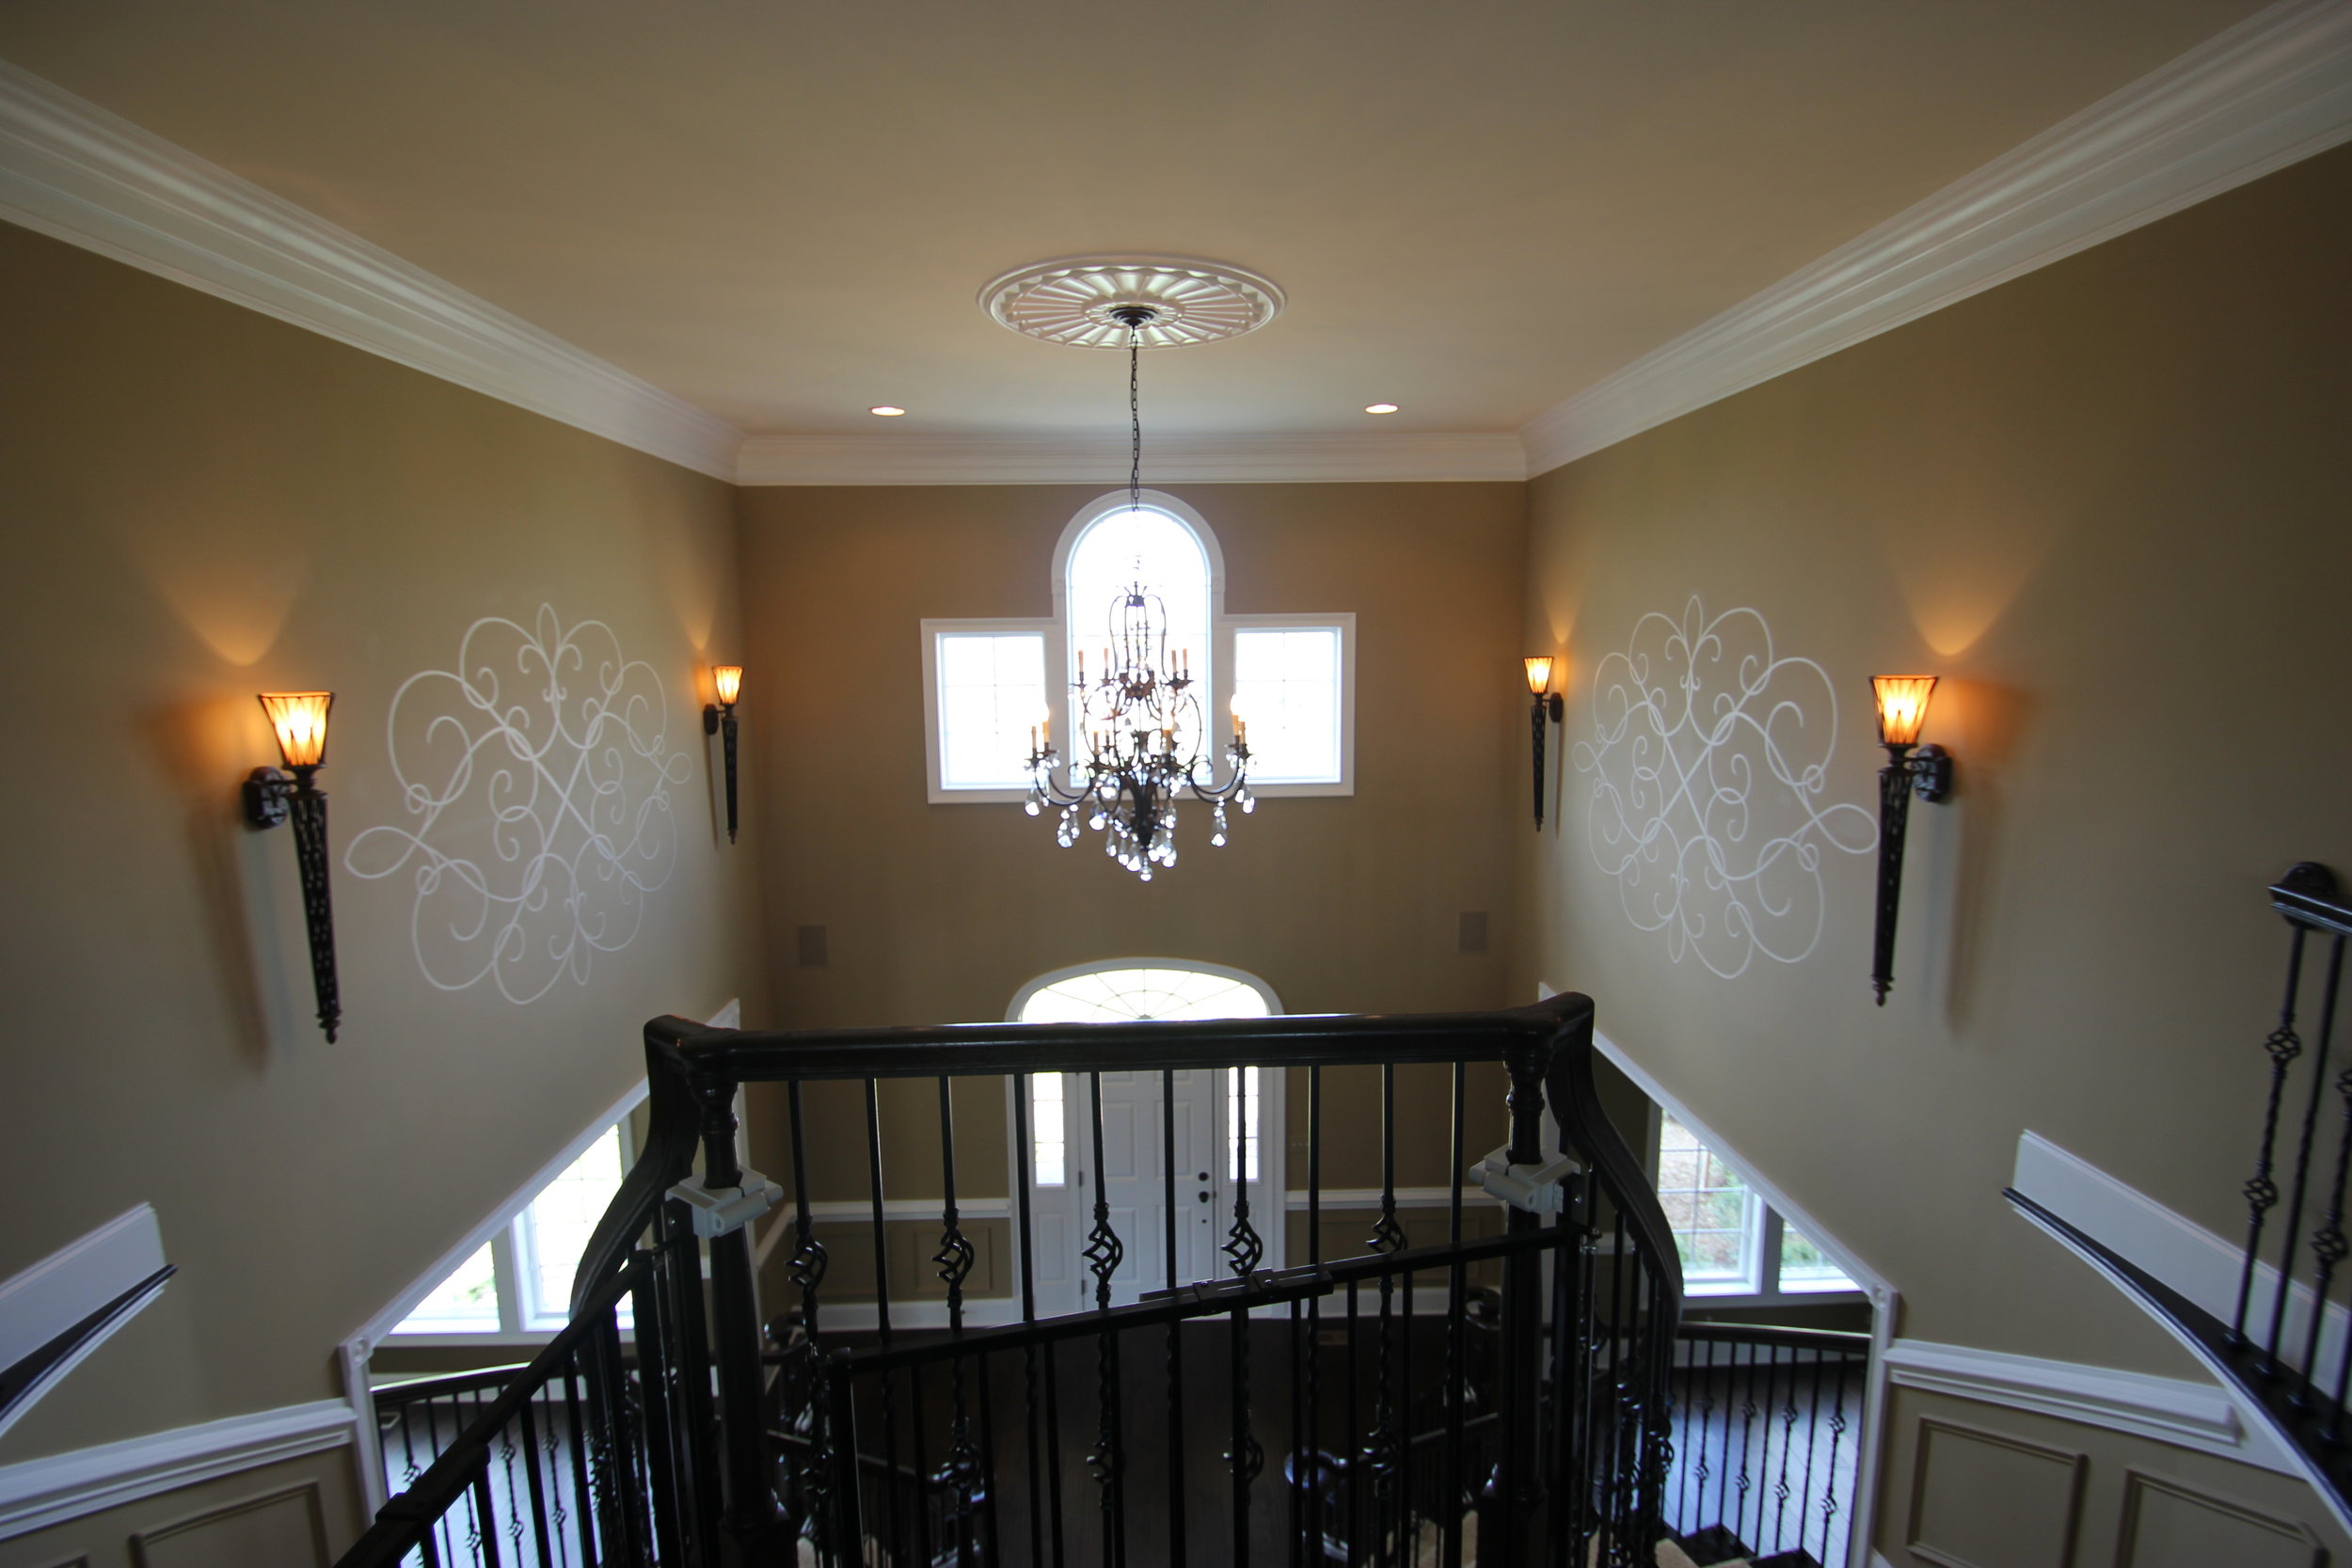
And finally here are the medallions painted in the foyer to enhance the space and pick up on the scroll designs on the chandeliers.

2012-04-24_14-21-17_268

2012-04-24_14-21-17_268

Progress shot of setup and transfer of design

IMG_0869

IMG_0869

IMG_0871

IMG_0871

Completed space.

Thanks to the clients for a great opportunity!

A Fresh Coat of Paint

china cab before

china cab before

Recently, April Force Pardoe, principal of AFP Interiors contacted me to see if I would be willing to tackle this china cabinet. She had found it at Habitat ReStore in Halethorpe. Upon closer inspection it was in great shape and just needed to be freshened up.  The client wanted something hip and so she and April decided on Turquoise! My favorite color!!!!

IMG_0166

IMG_0166

(Pardon the quality, Ill be going back to take good pictures)

I used some Annie Sloan Chalk Paint and custom tinted it to match the Sherwin Williams color they had chose.  It was delivered yesterday and the client sent me the most heartwarming email thanking me.  Thats what its all about!!

Thanks April and Shayla!