A Portrait Project - Finding my Footing

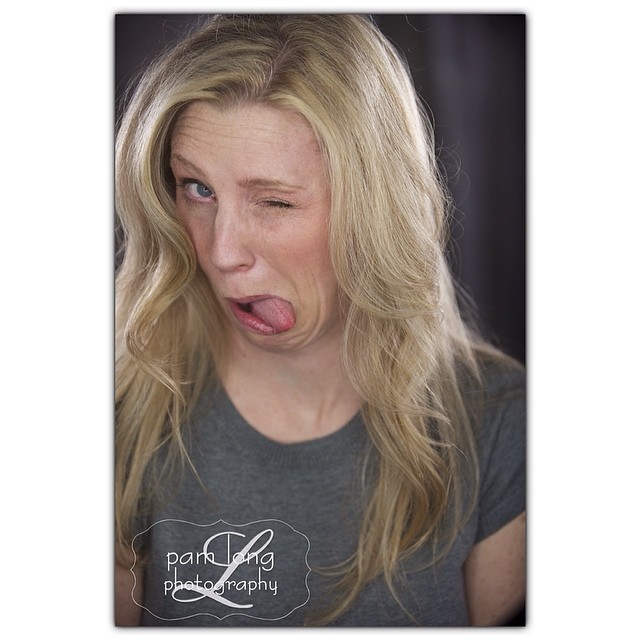
A few months ago Pam Long of Pam Long Photography approached me about doing a joint project.  Pam is a wonderfully talented photographer with a studio on Main Street in Historic Ellicott City. She does maternity portraits, newborn or children portraits, family portraits and high school seniors' portraits. Pam wanted to offer a new package option for her clients, having their portrait painted. That's where I come in! Untitled
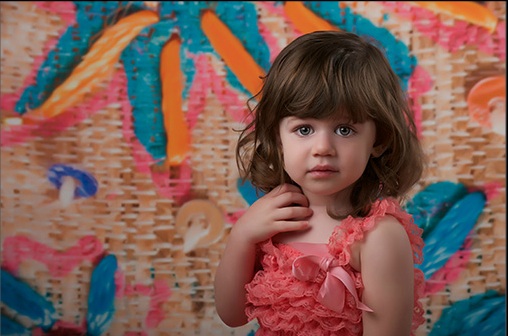
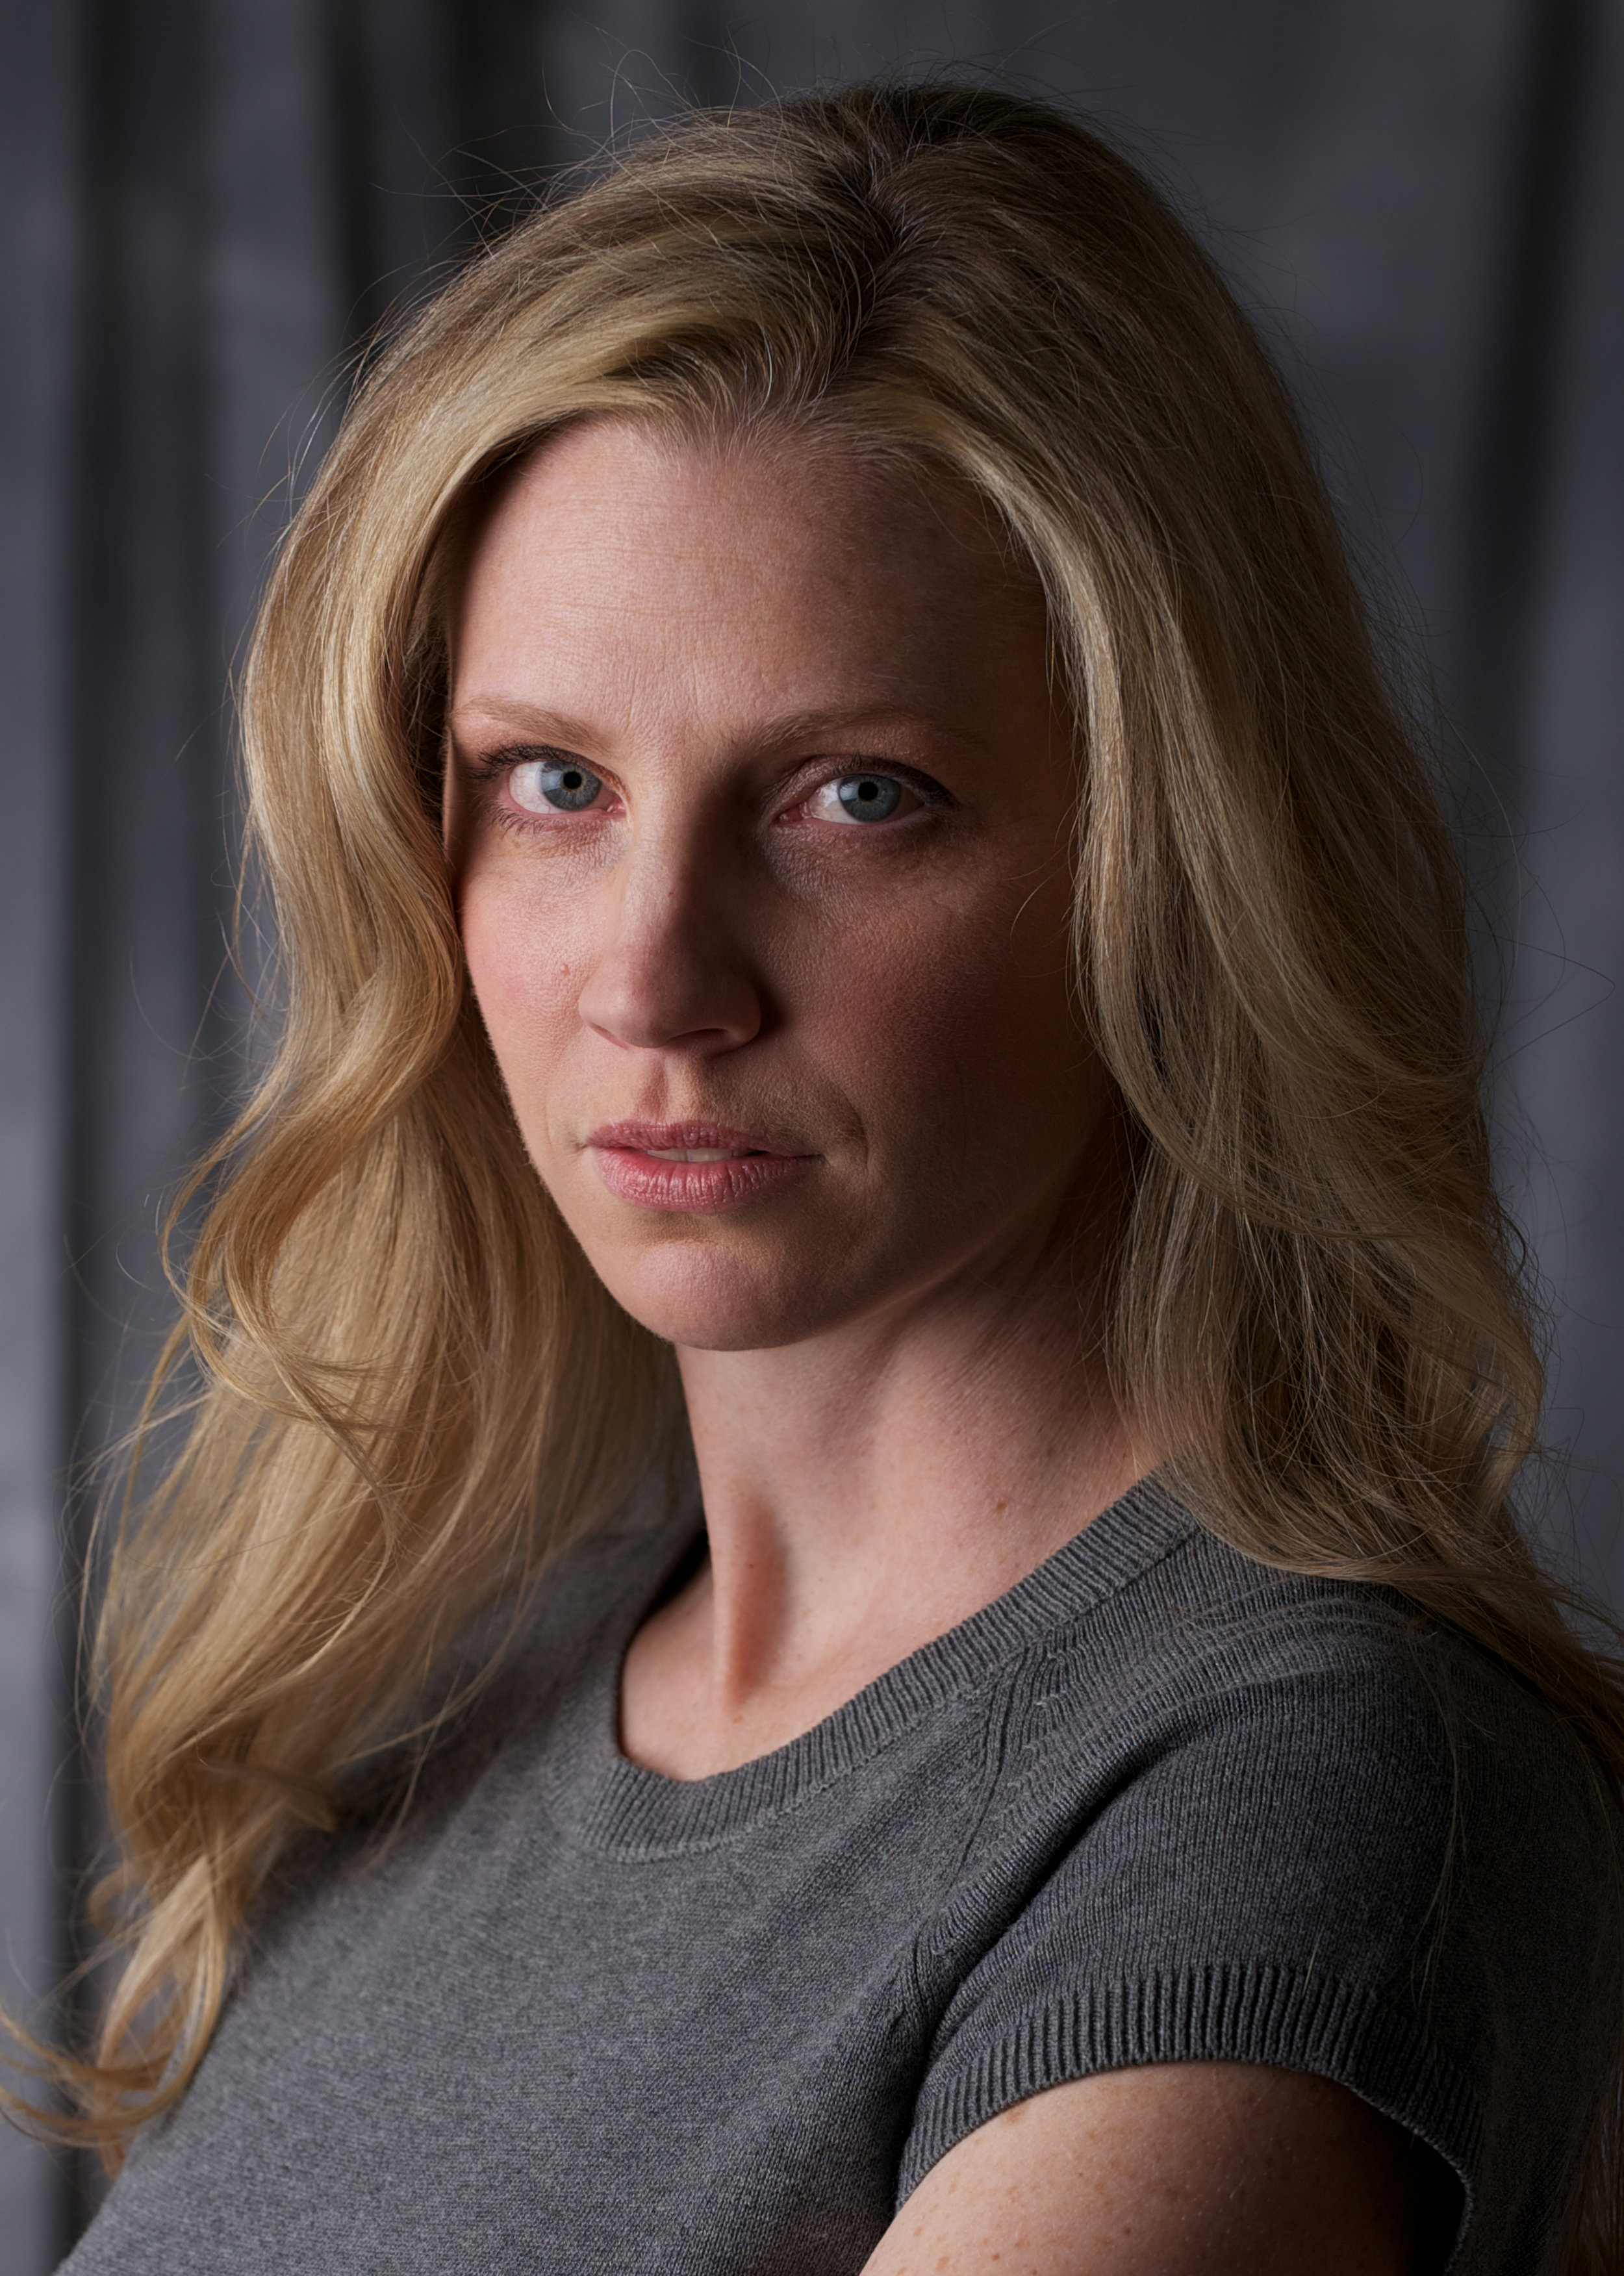
We had a photo session back in February. Ill be honest, I didn't know what to expect since its not every day that I have my photo professionally done.  Pam was very welcoming and complimentary, immediately putting me at ease. We had a great time and did a few different set ups. About a week later, I came back to go through the lot and choose a handful that could potentially work for our project. I was surprised at how well they turned out given the subject matter ;) I tend to be goofy and and self conscious when having my picture taken.

plp-outake

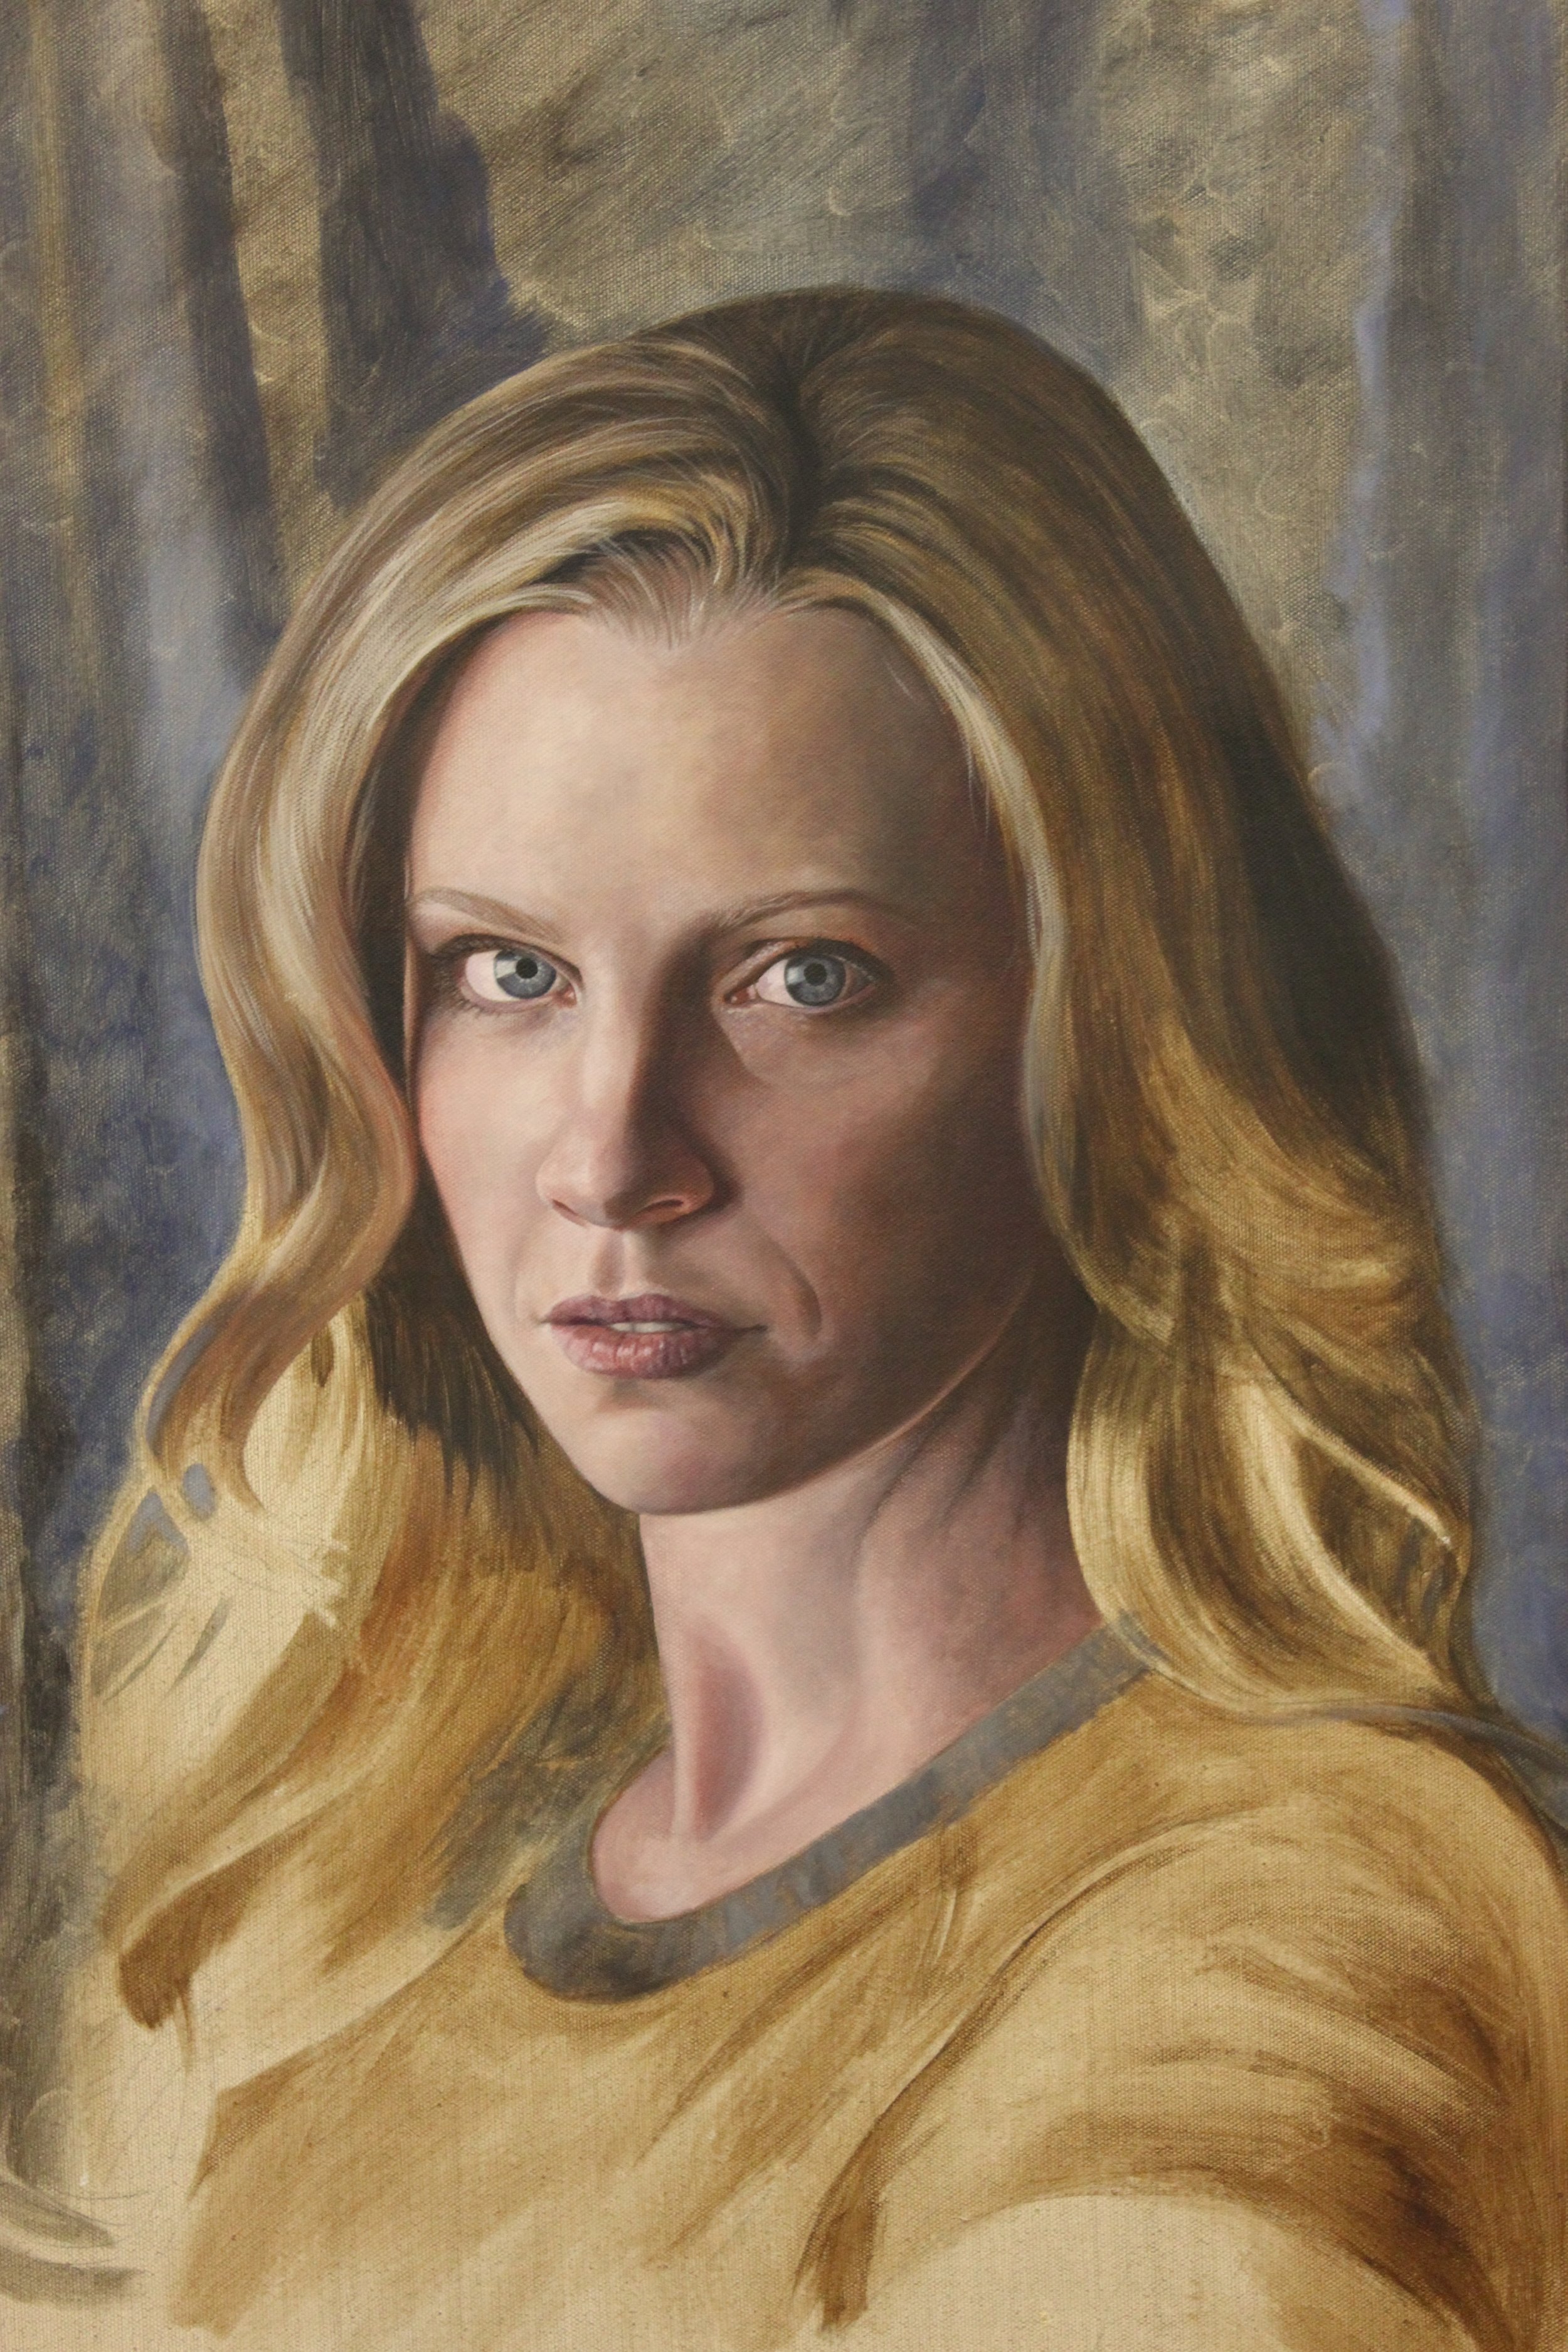
With each new painting  there is an element of excitement, anxiety, and sometimes fear. Portraits are not easy, especially when they are for a paying client. Careful attention to detail is a must, and sometimes the client will be choosy in how they are portrayed.  Remember the whole Kate Middleton portrait kerfuffle? I thought the work was stunning and captured her essence, but most people wanted an idealized image that they had conceived in their minds. You can't please everyone, but you must please the client! In this case the client is me. And its super hard!!

My Portrait


IMG_5655

IMG_5658

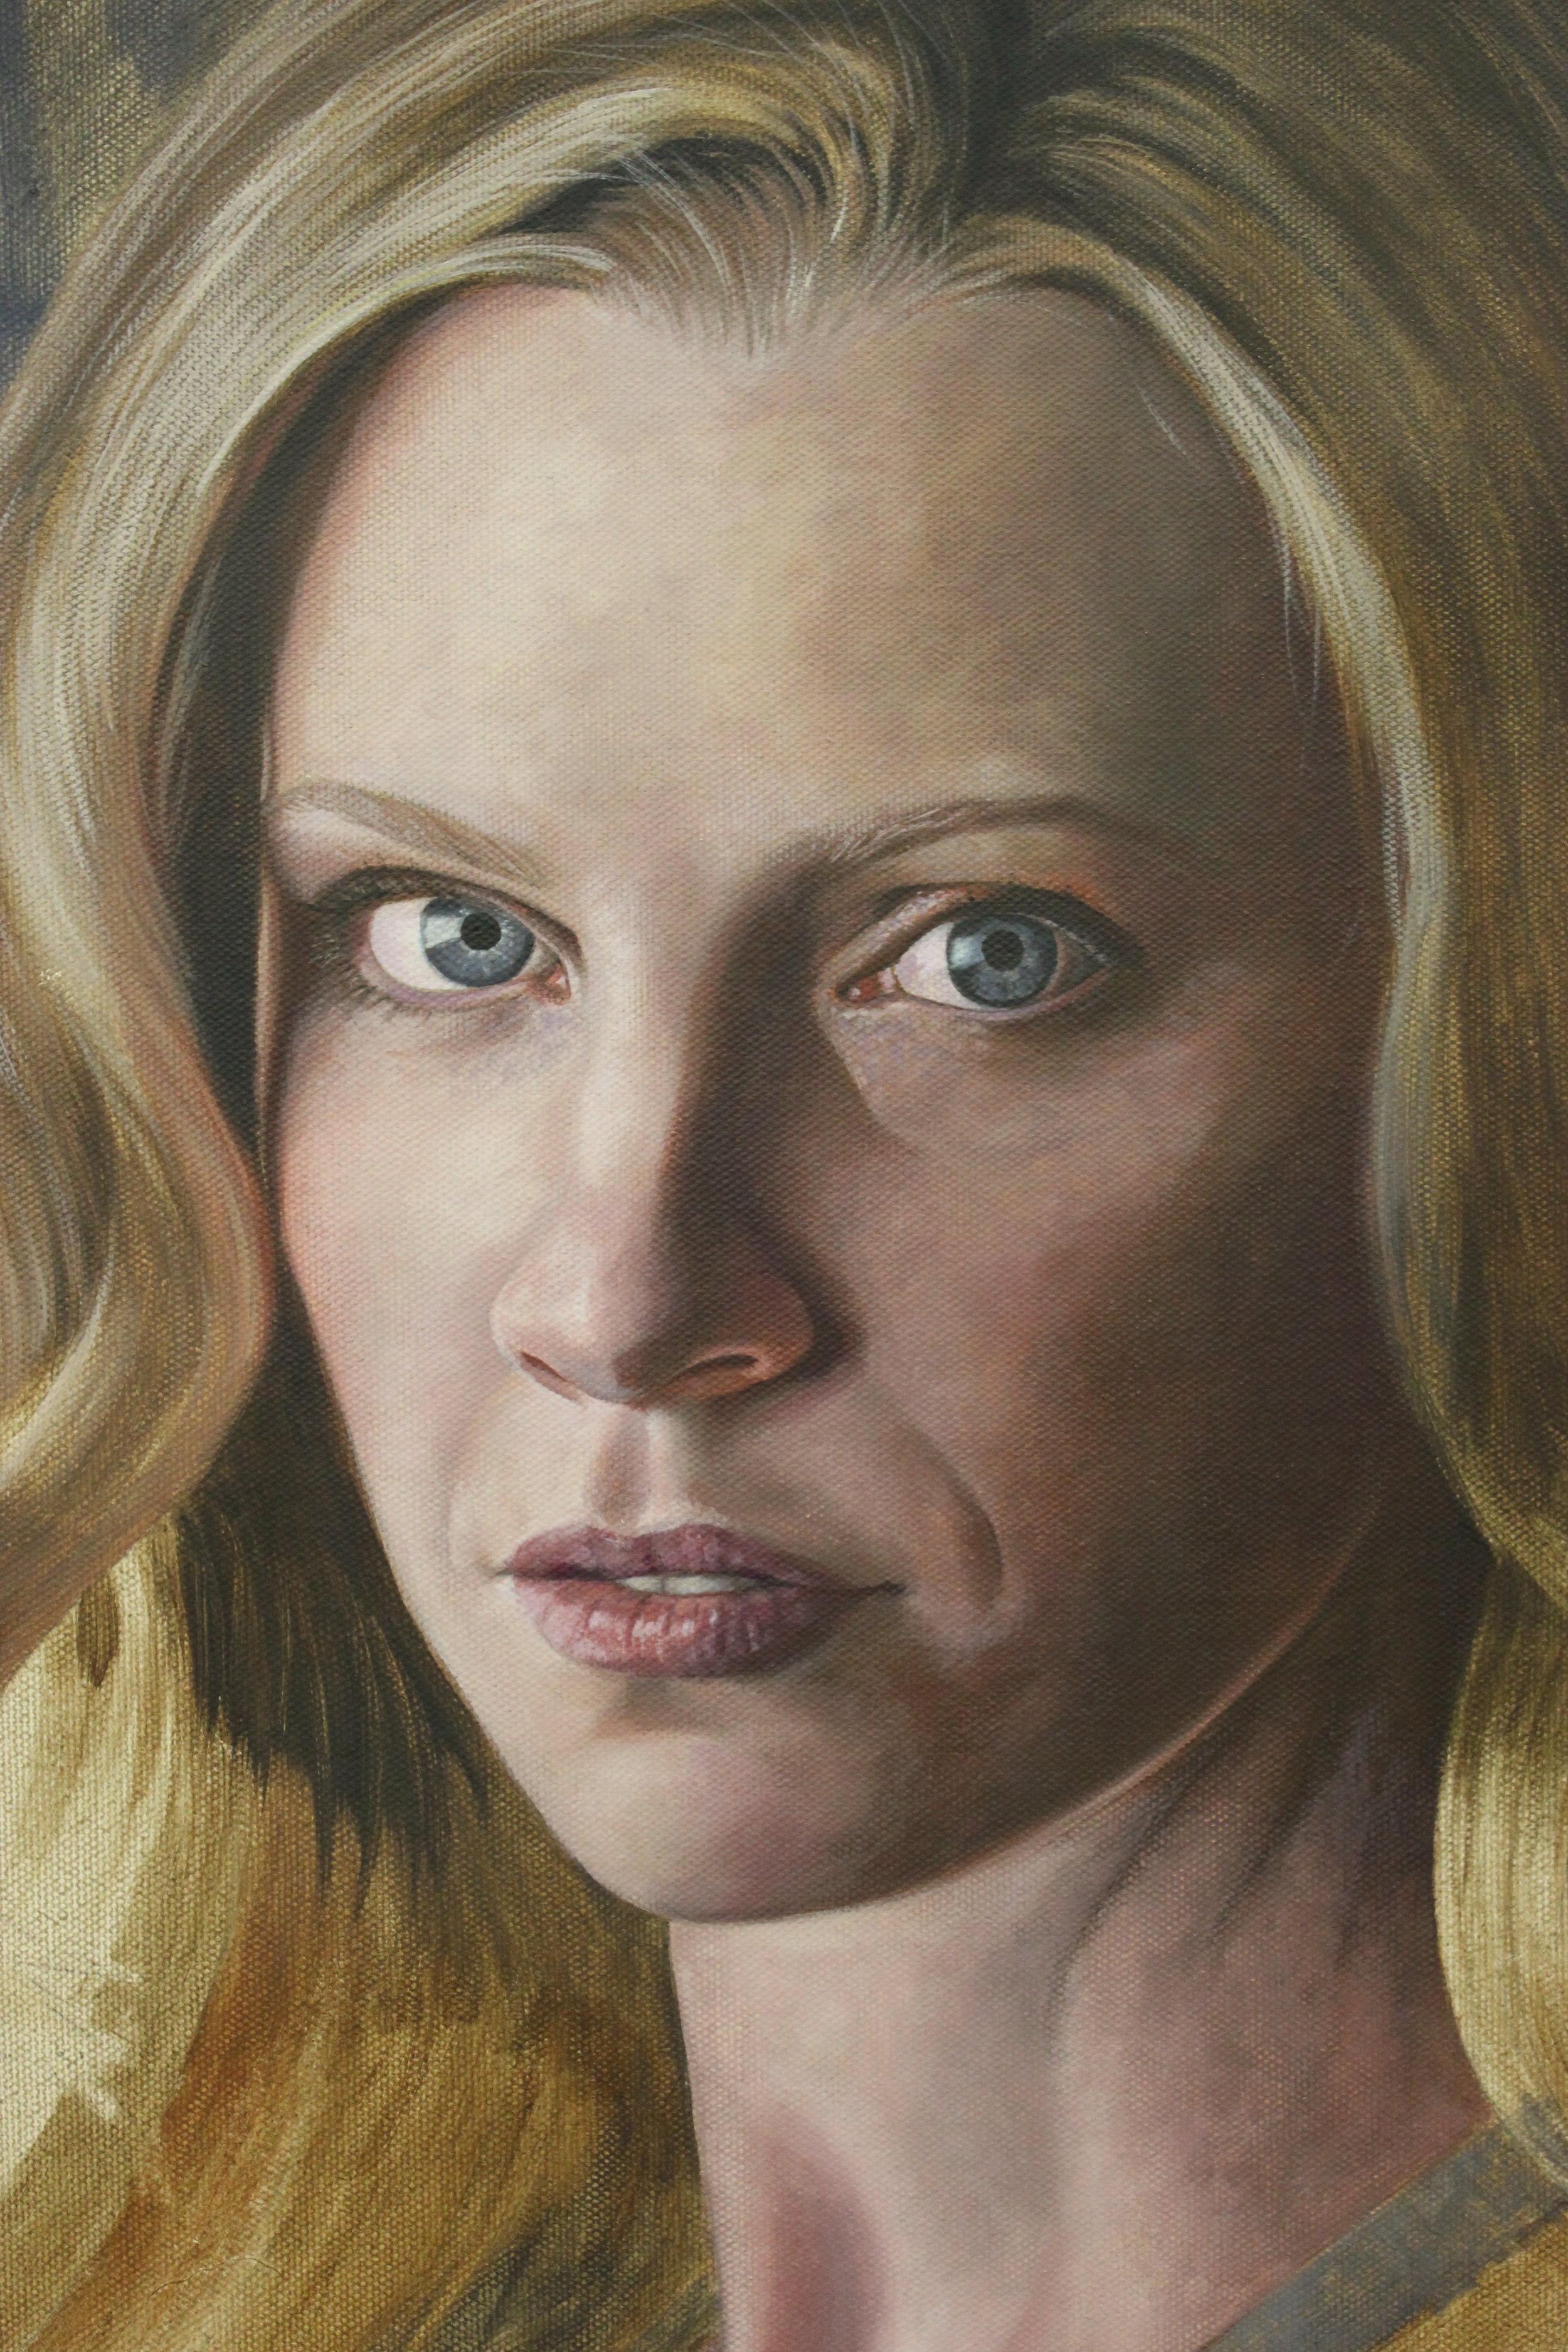
I've always painted in acrylic and this time I've been using my usual standard, Proceed Slow Dry Fluid Acrylics. I did use a different kind of canvas since I was out of the kind I normally use. Somehow I think the combination isn't working very well. I find it difficult to build layers without cutting through the subsequent layers. I also am finding that for this particular project that the paints are drying to opaquely and flat.

What I've been noticing now that I'm working on this is how in other artists' portrait work the colors of the skin are so varied and deep.  Cerulean blues, cadmium reds, all layered to achieve such a beautiful luminosity. I tend to mix a color, add white and either burnt umber or raw umber to it to get the value correct, and put it down. The results are very opaque. I am struggling to find how to layer the colors to achieve that beautiful depth. I did some thinking and believe that I am going to try out oils. I've never been properly schooled in their use, but I have used them in the past. I'm hoping that by using oils I'll be able to achieve the subtle nuances with the shadows and richness of the skin.

Ill post some more photos when I think its nearing completion. Any advice or constructive critique is welcomed.

Stay tuned!

Happy Accidents

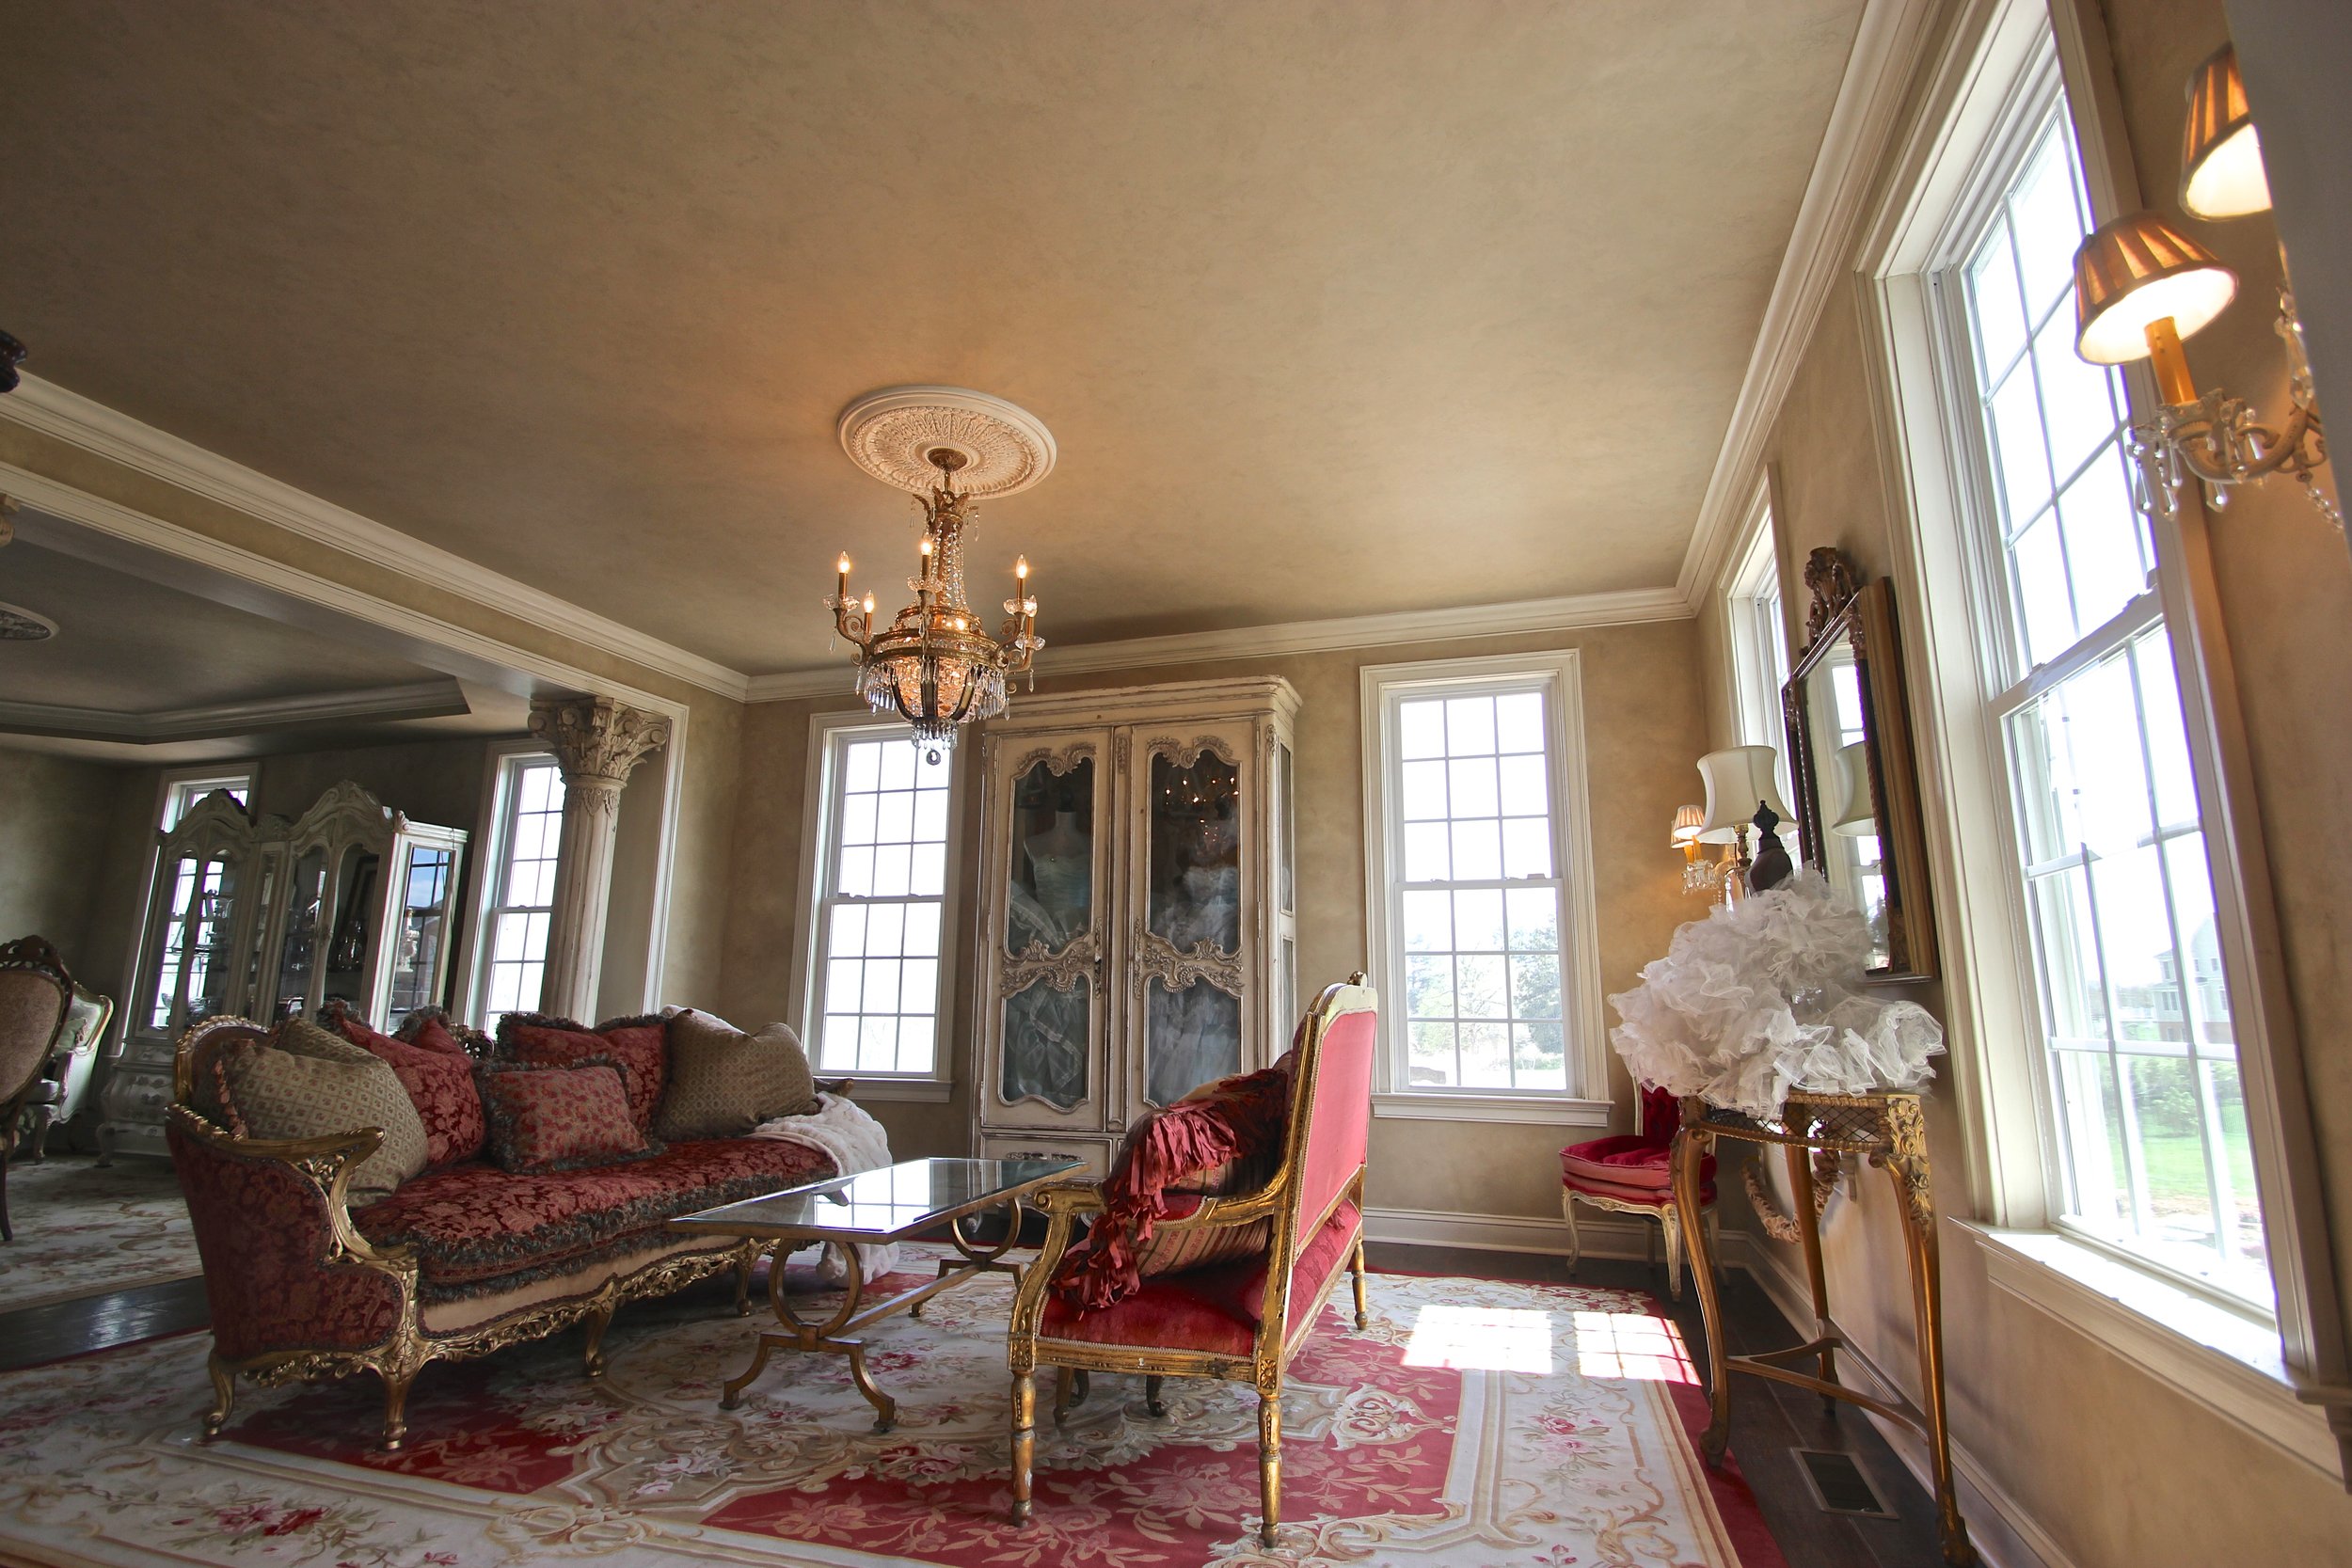
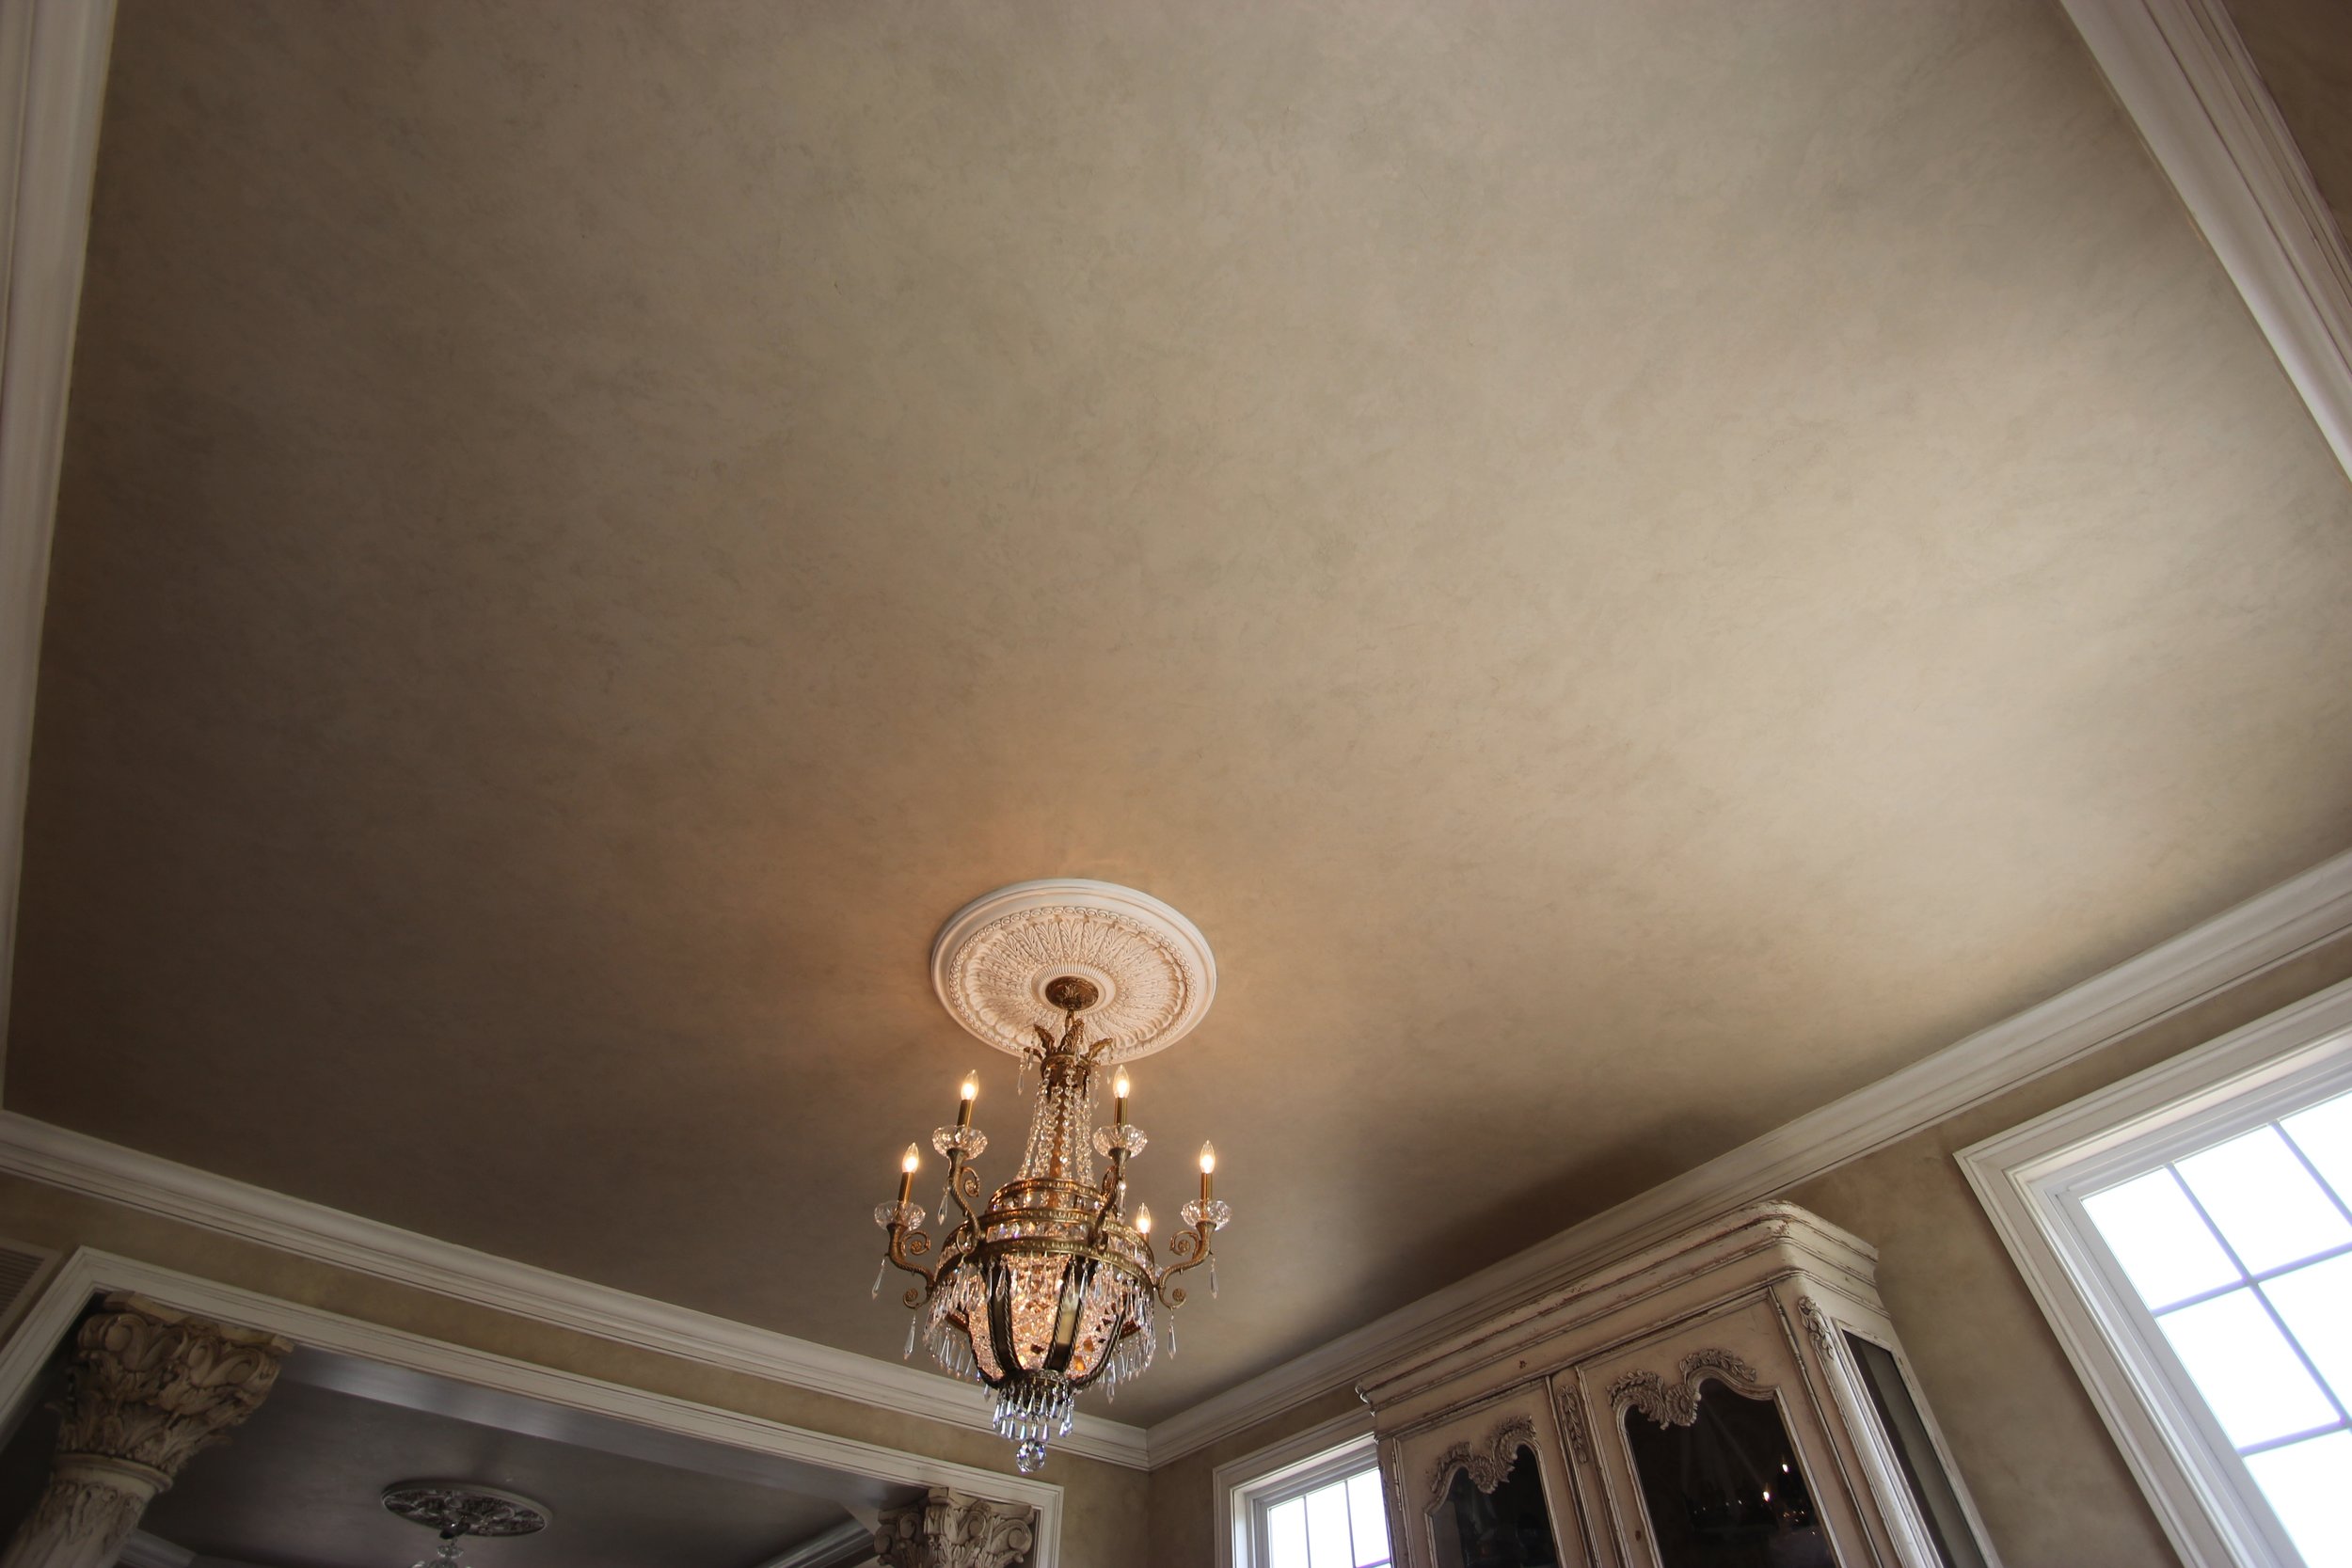
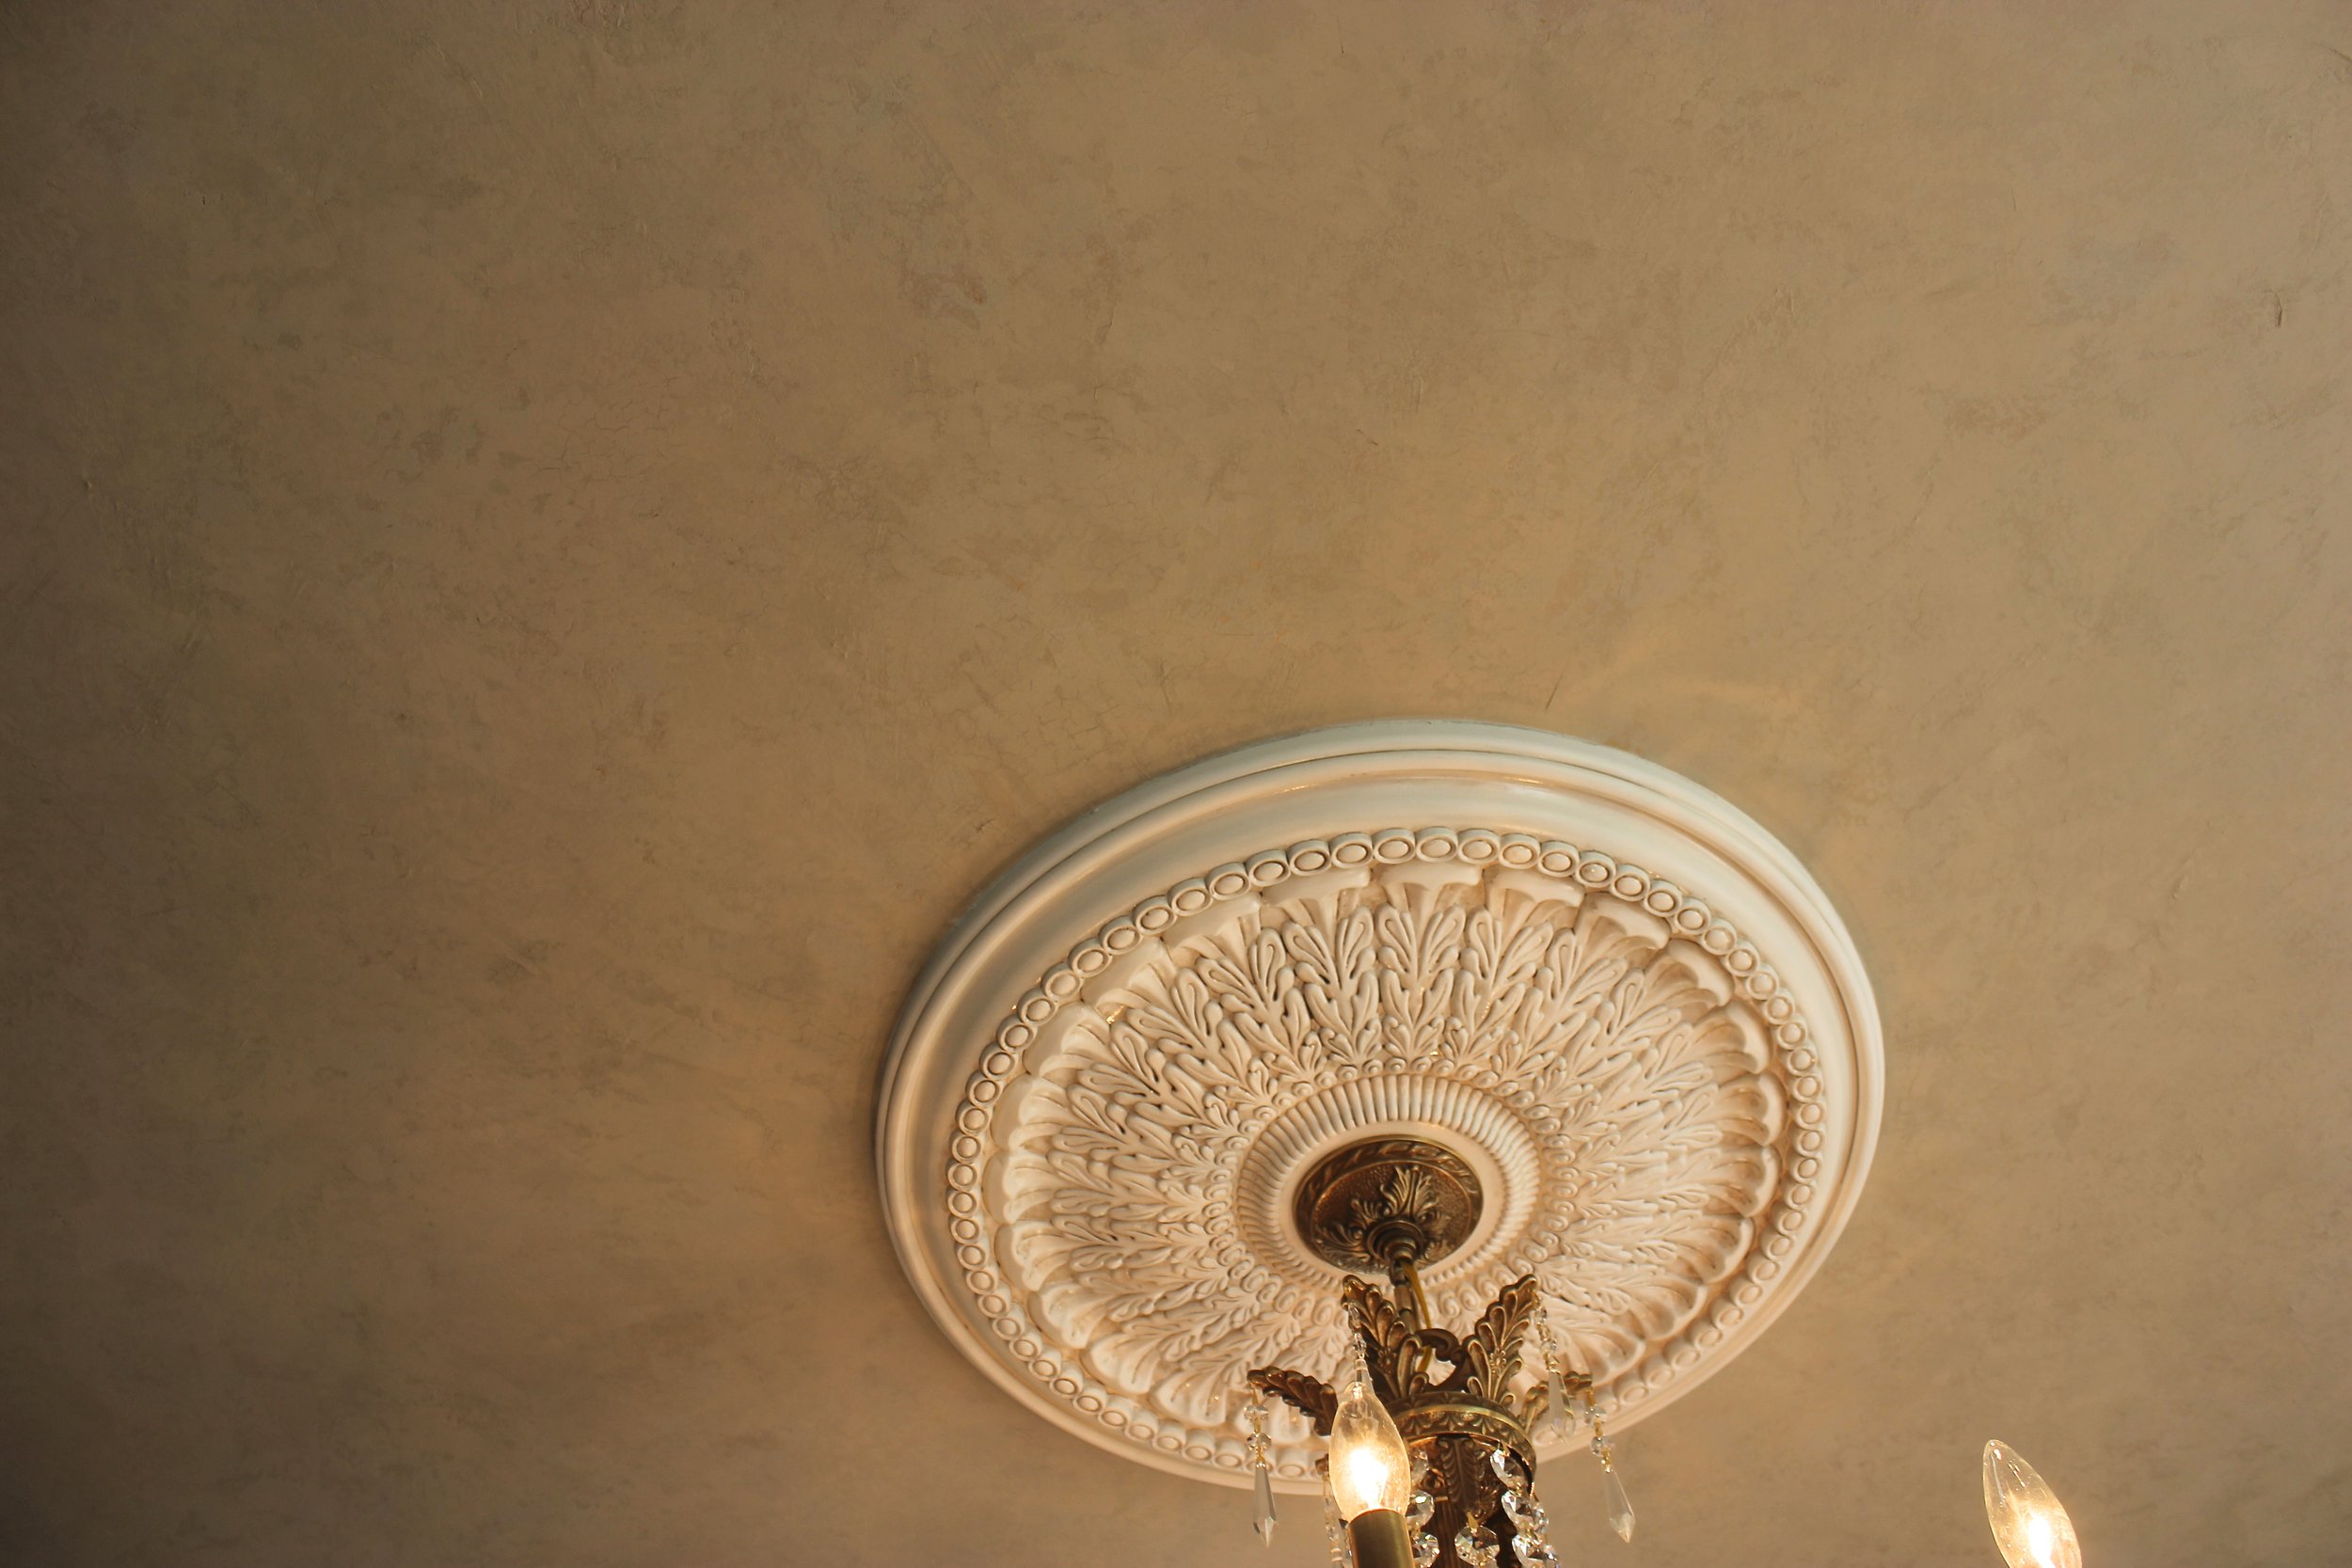
Not everything goes according to plan.  (That should be this year's motto.) With this job I had a major "oops" where the finish I was supposed to do on the ceiling didn't quite turn out as planned.

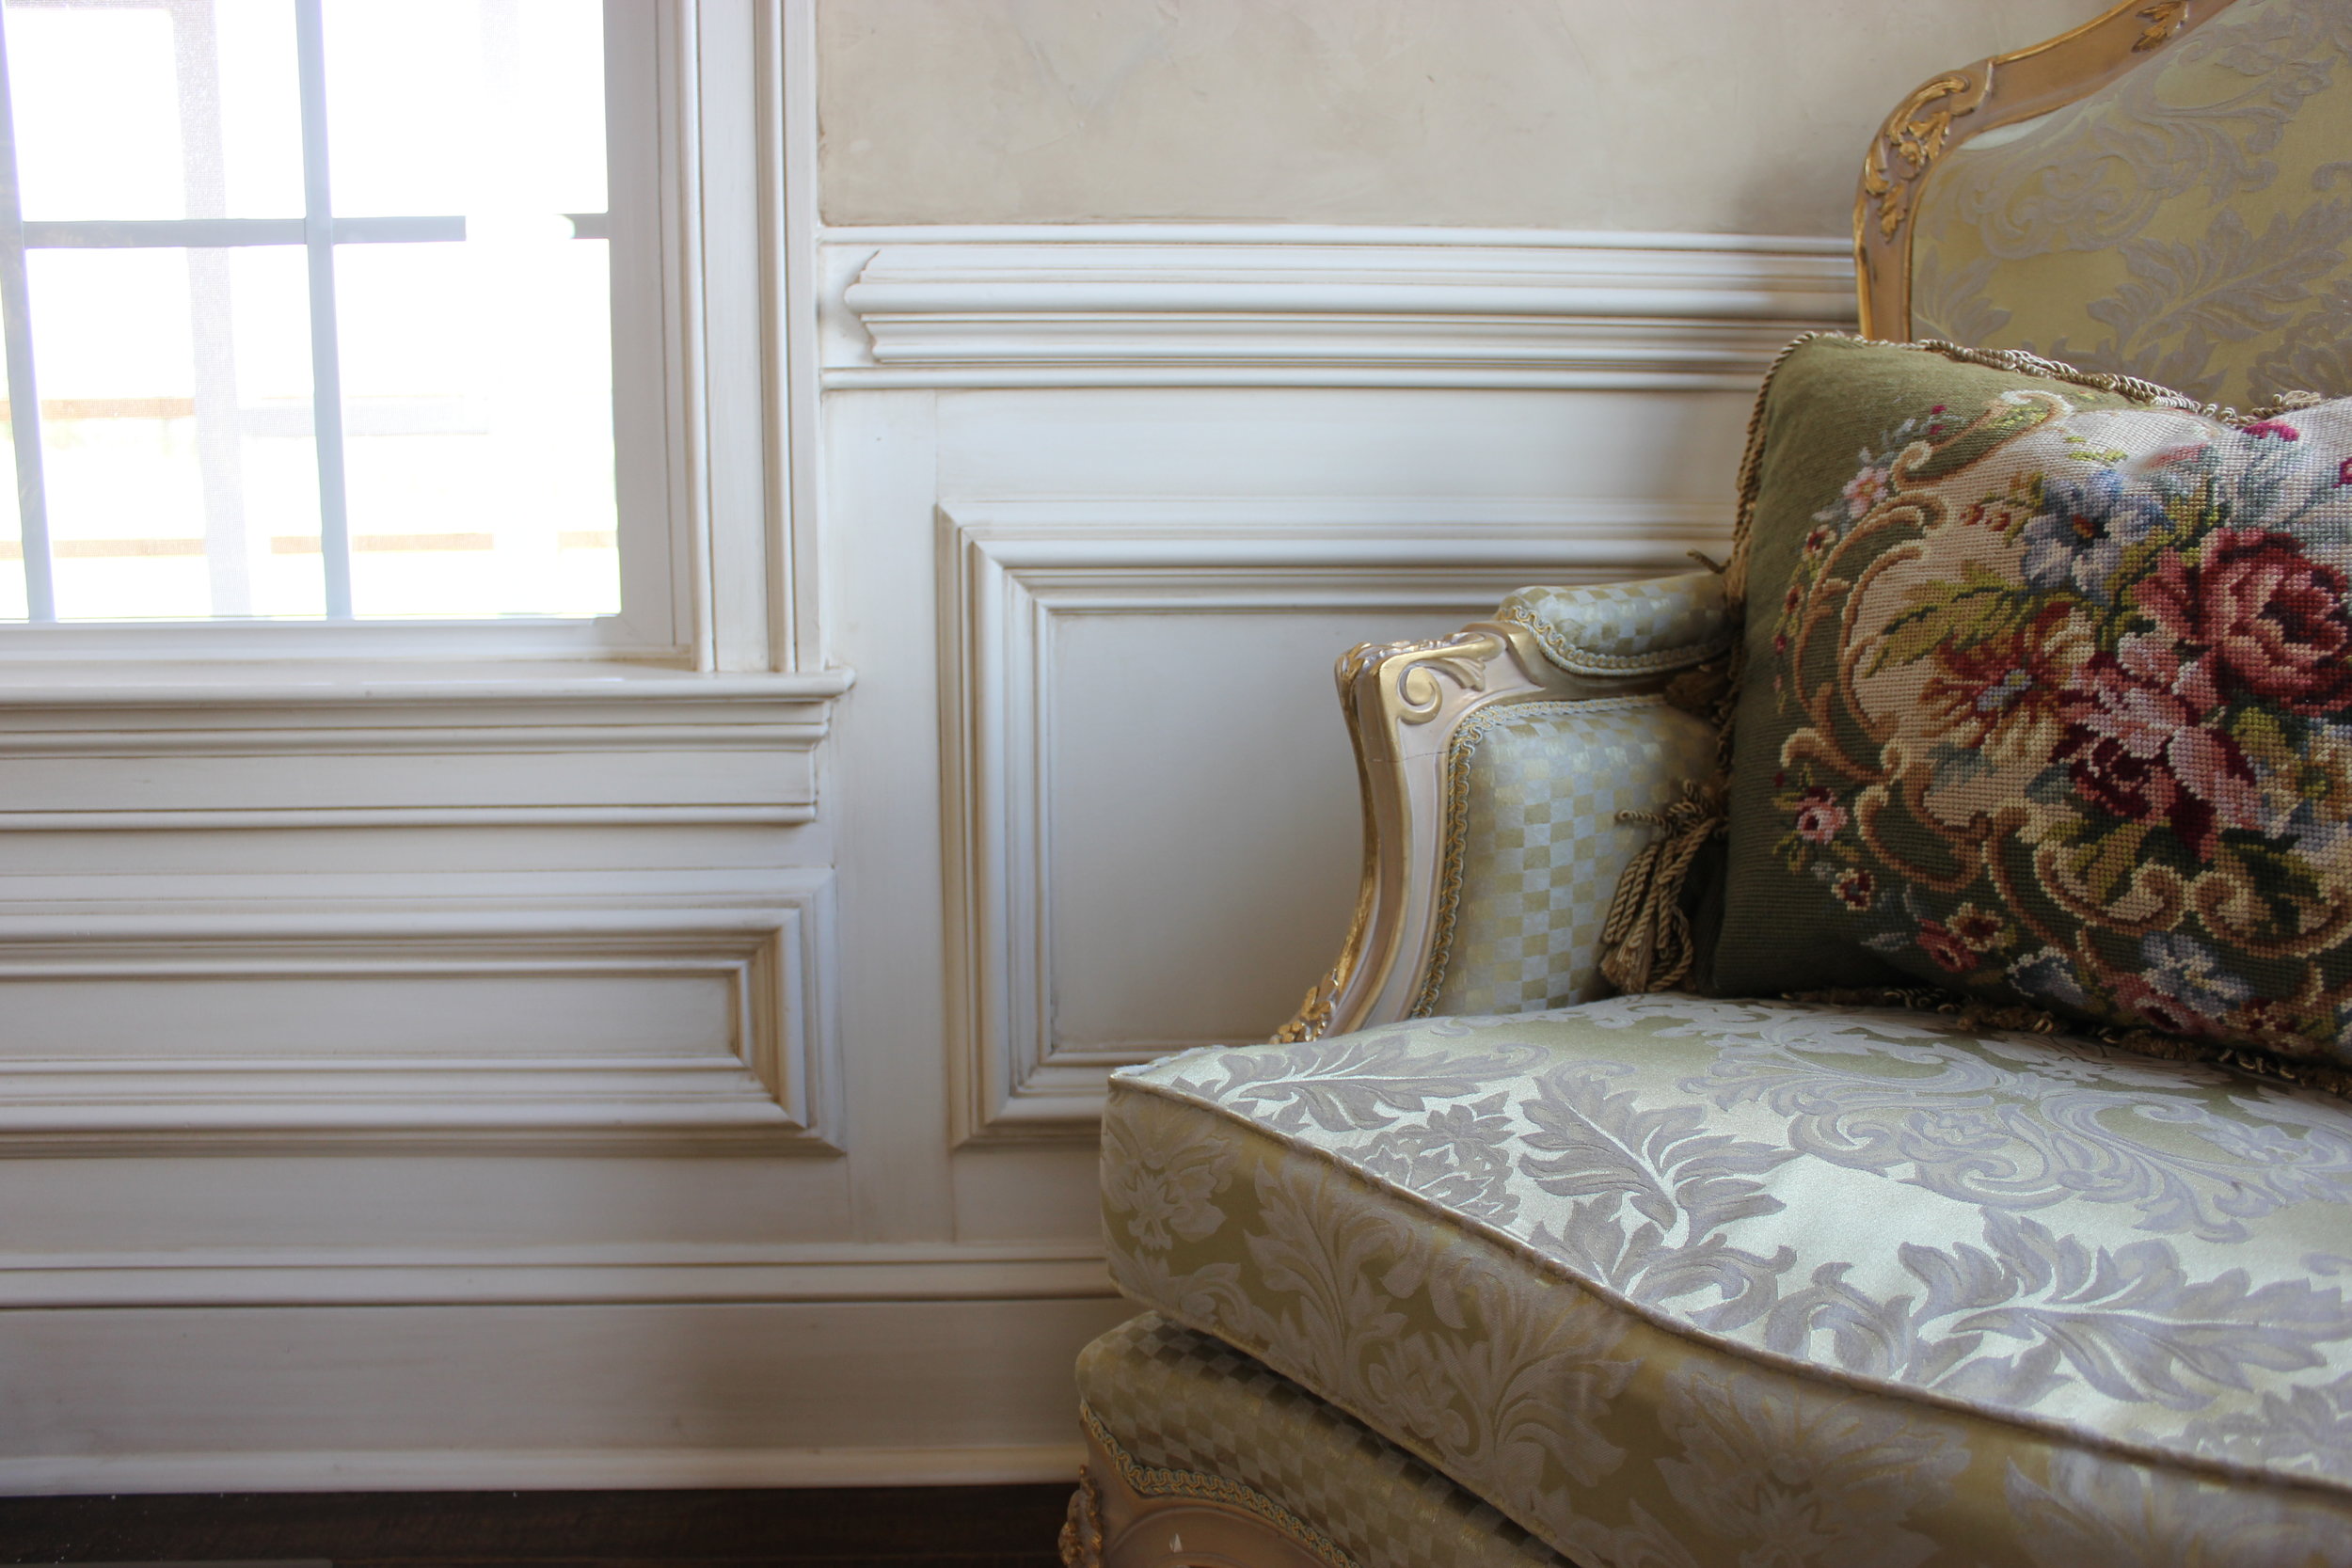
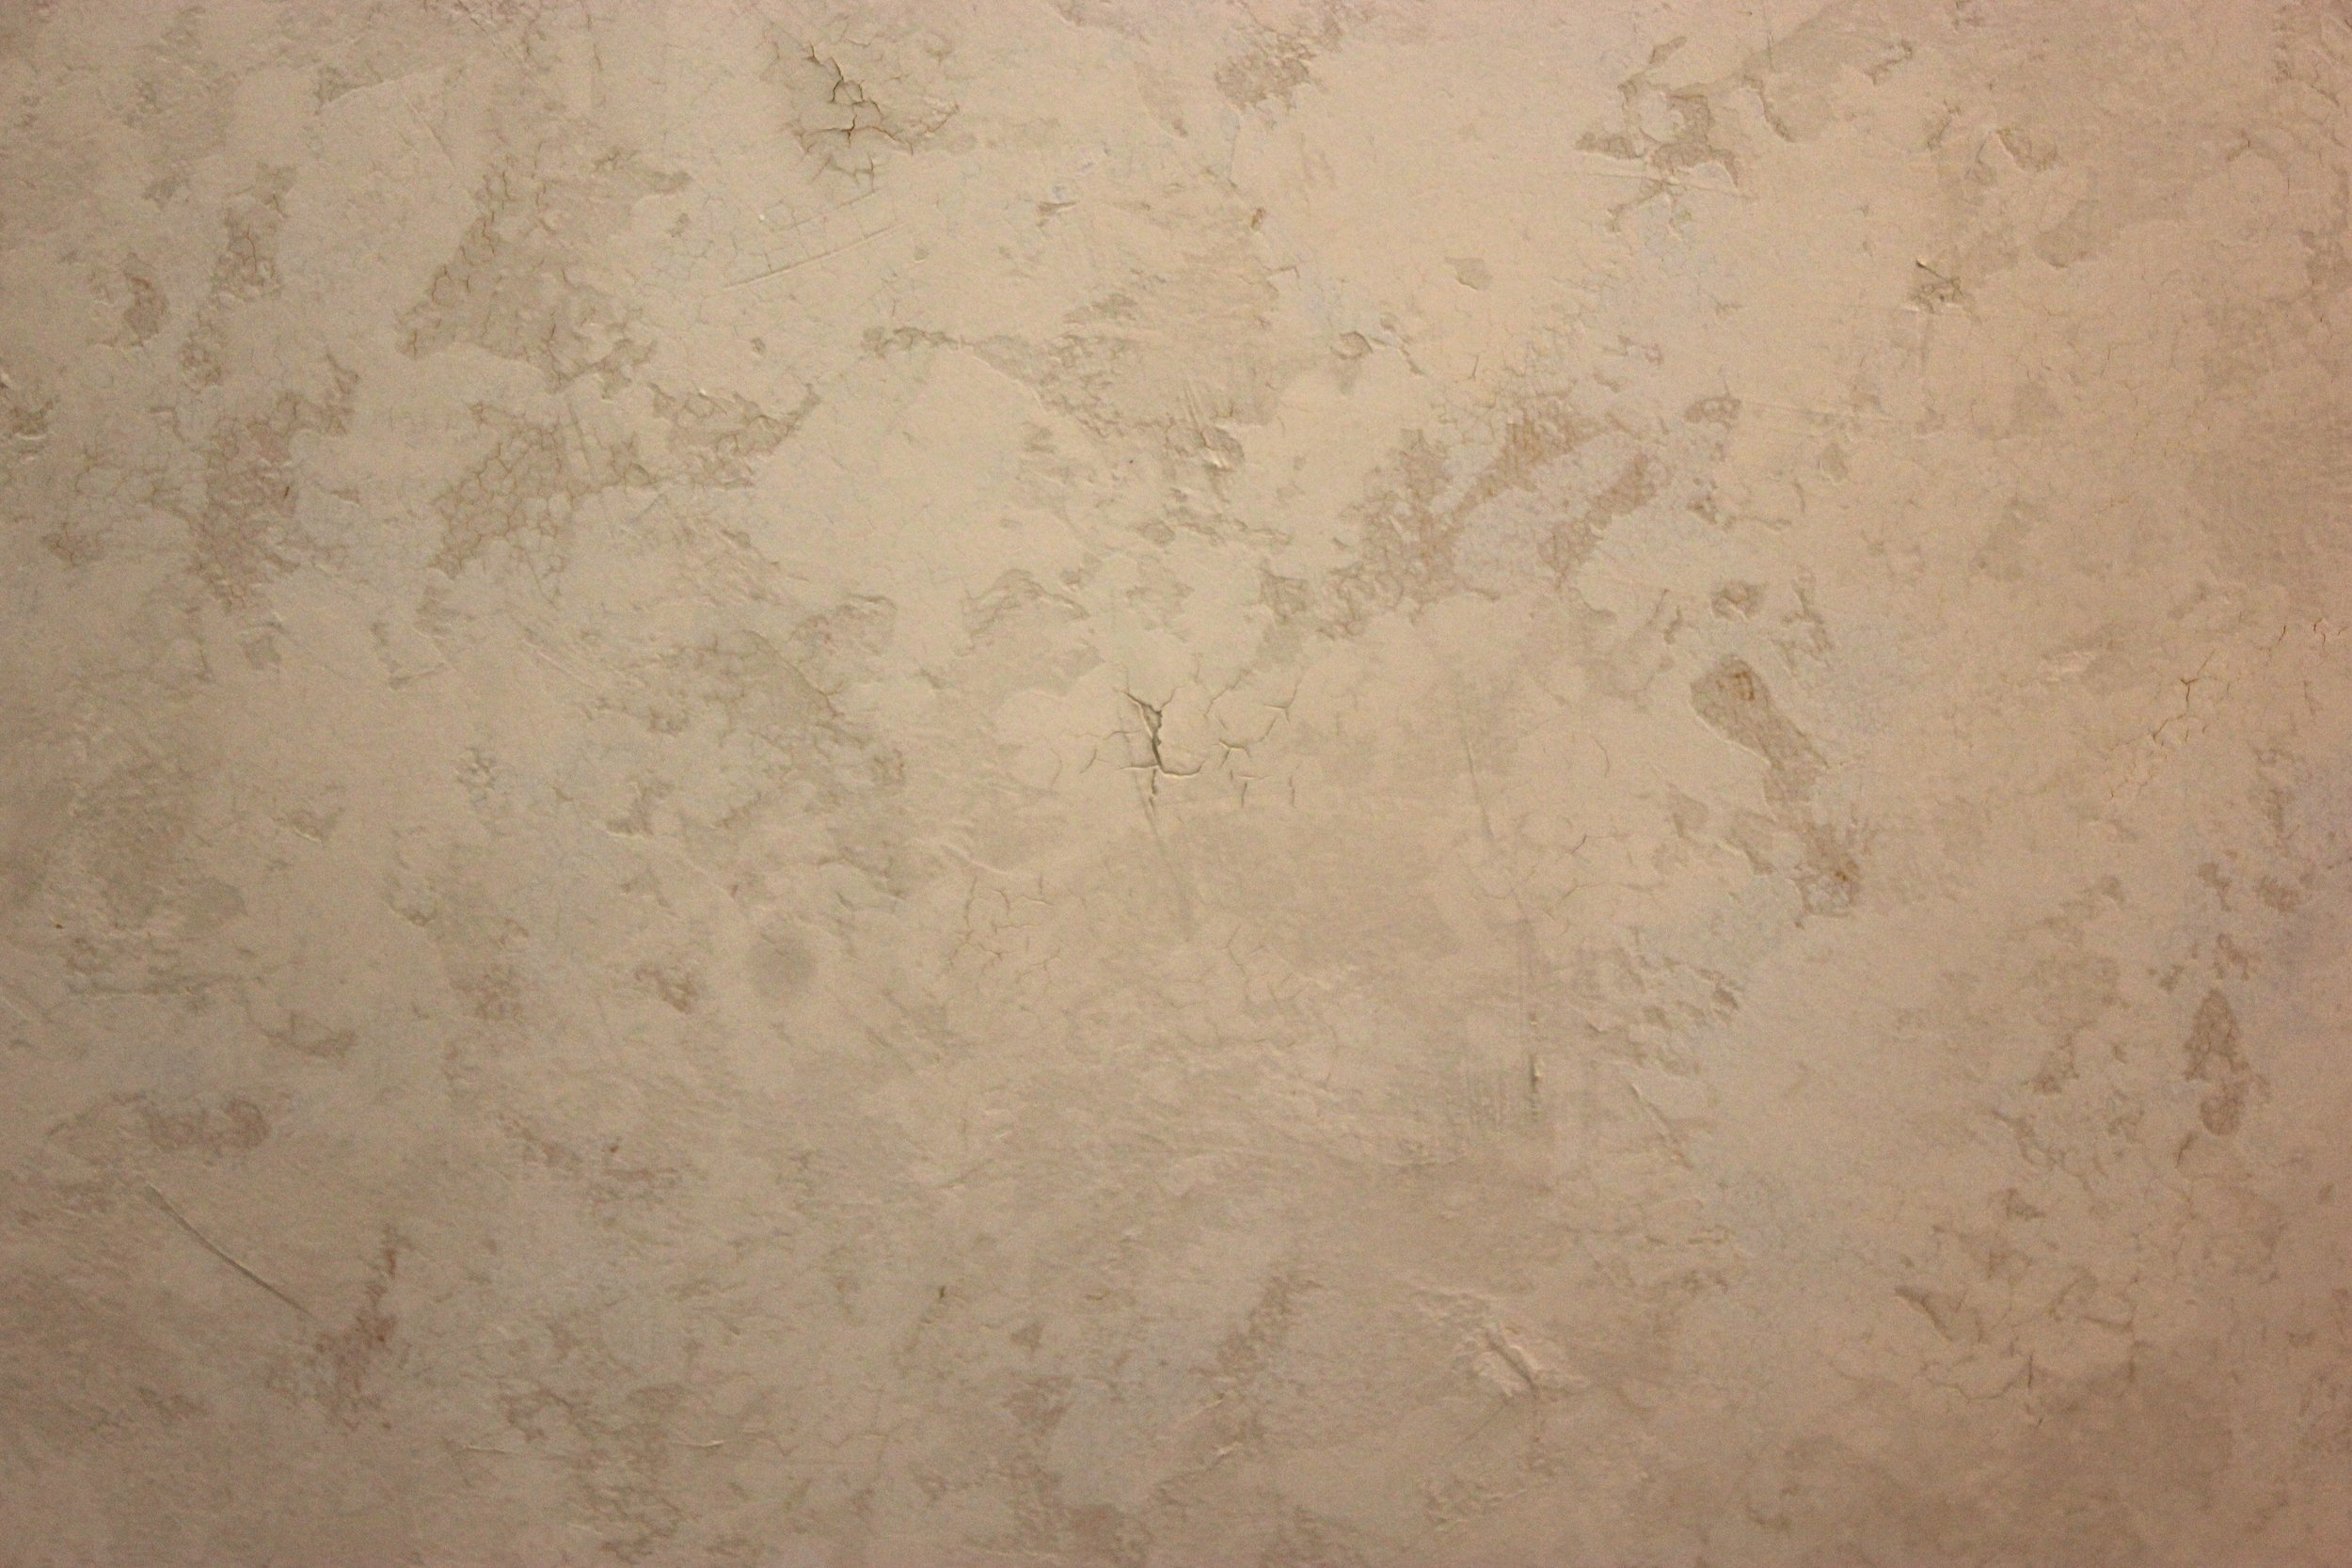
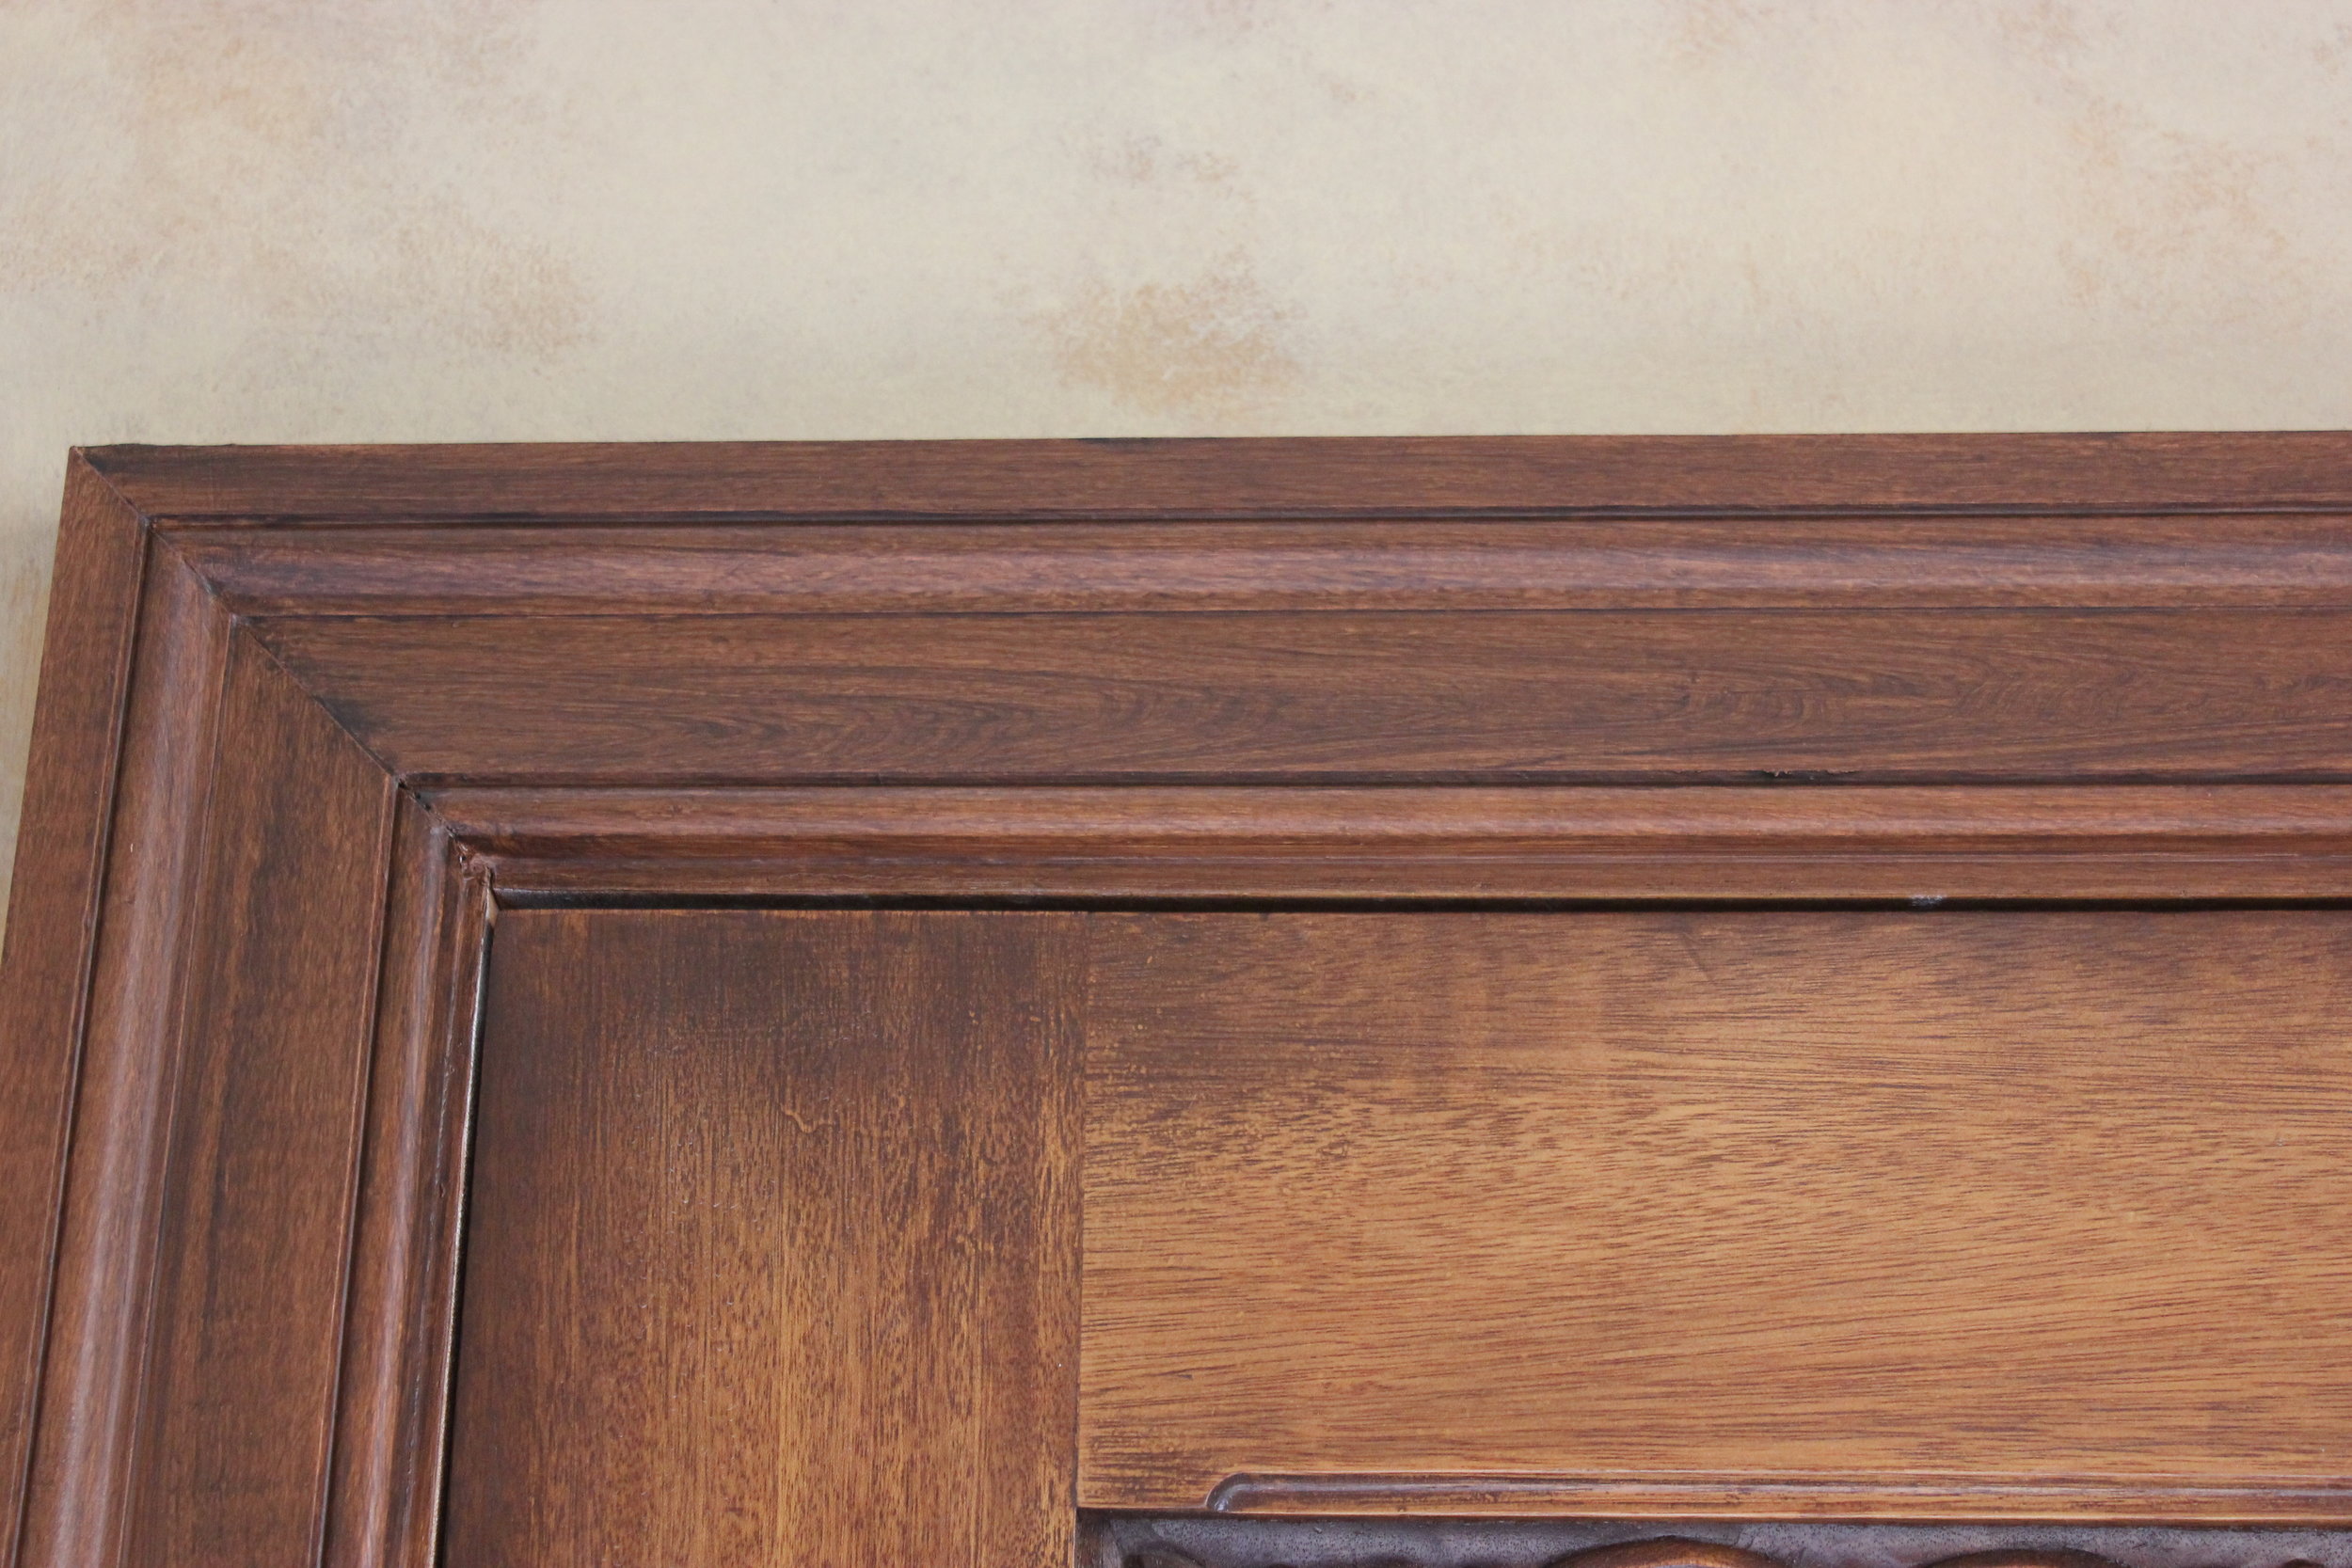
I had completed the walls last year with a glazed plaster texture and the client wanted to do something on the ceiling that complimented but didn't upstage them.  I also had glazed the trim in her kitchen to match the cabinetry and she wanted to do the same in these rooms too. Normally when I do samples I keep notes and swatches of the different paint colors and mixes that I use. For some reason I didn't do that this time. Don't ask me why. I'm usually good at remembering my process but this time I don't remember what I did. I tried guessing but that didn't quite work. I was about to pull the plug and start over but thankfully my client talked me off the ledge. We came up with a solution that turned out to be even better than the original plan.

IMG_5609

Trim and Wainscotting:IMG_5594

I have to say that normally I would be mortified that the job went south but with a client like this, who is very creative and flexible, was absolutely amazing.

IMG_5631

IMG_5630

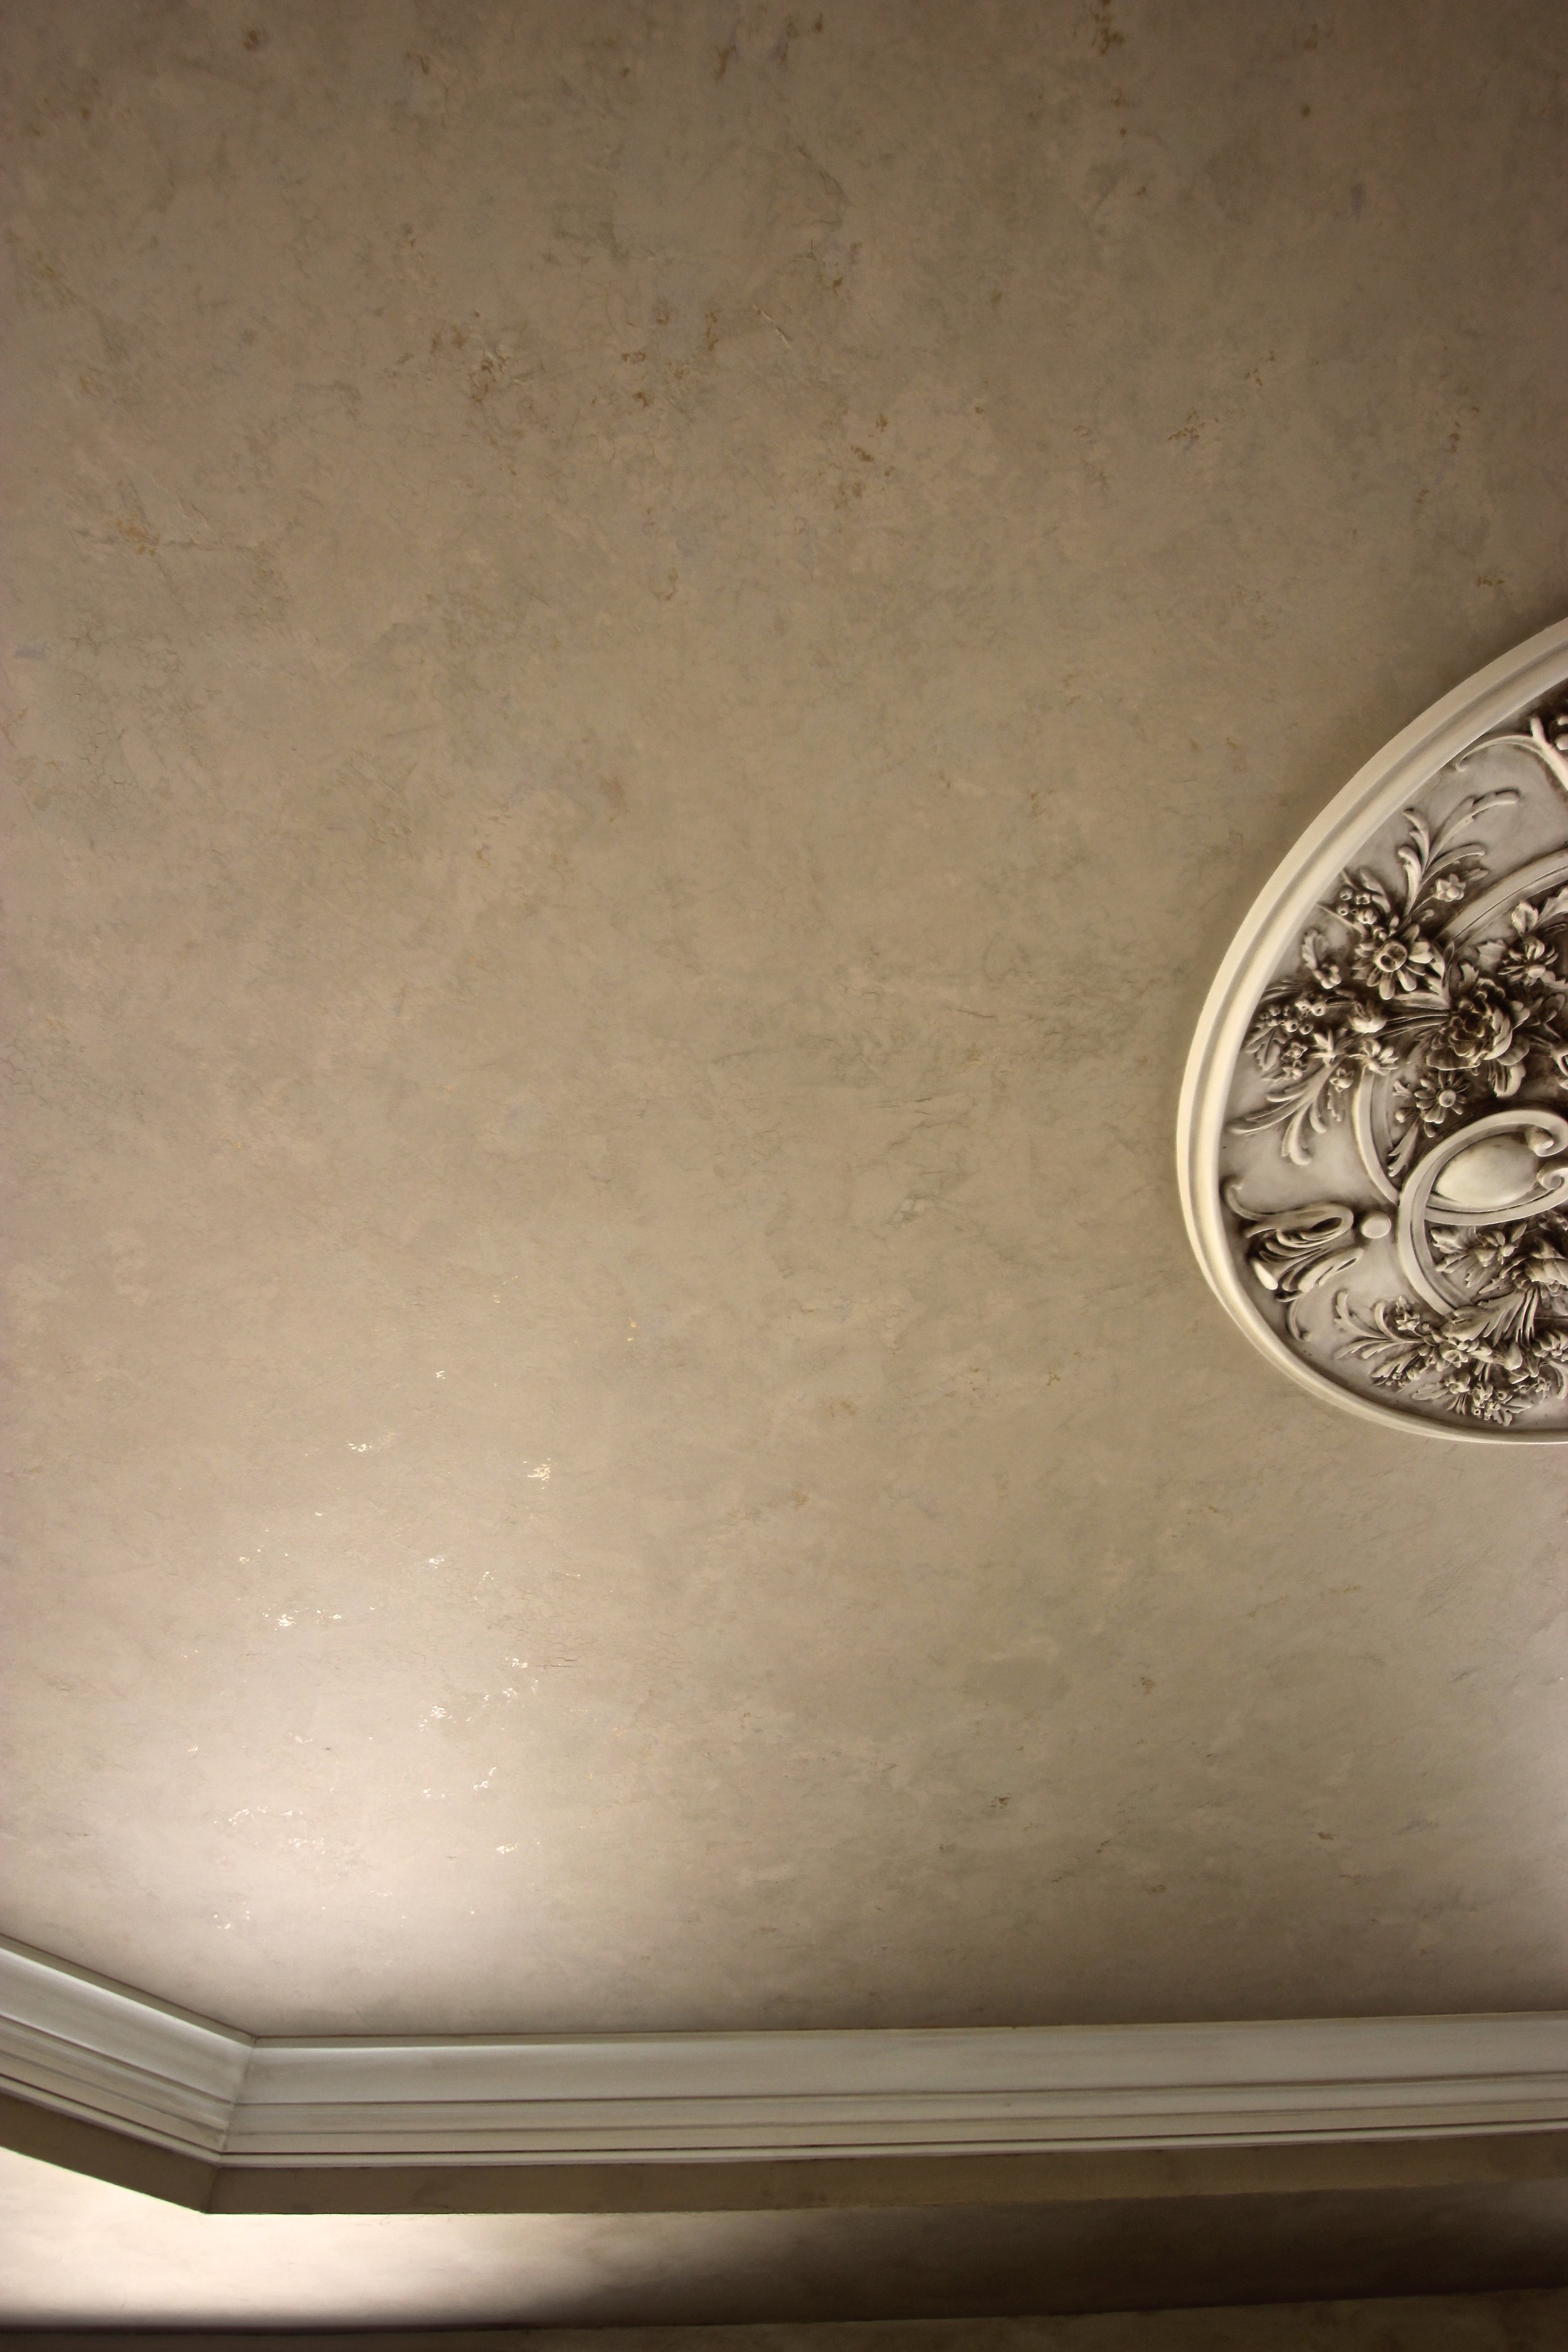
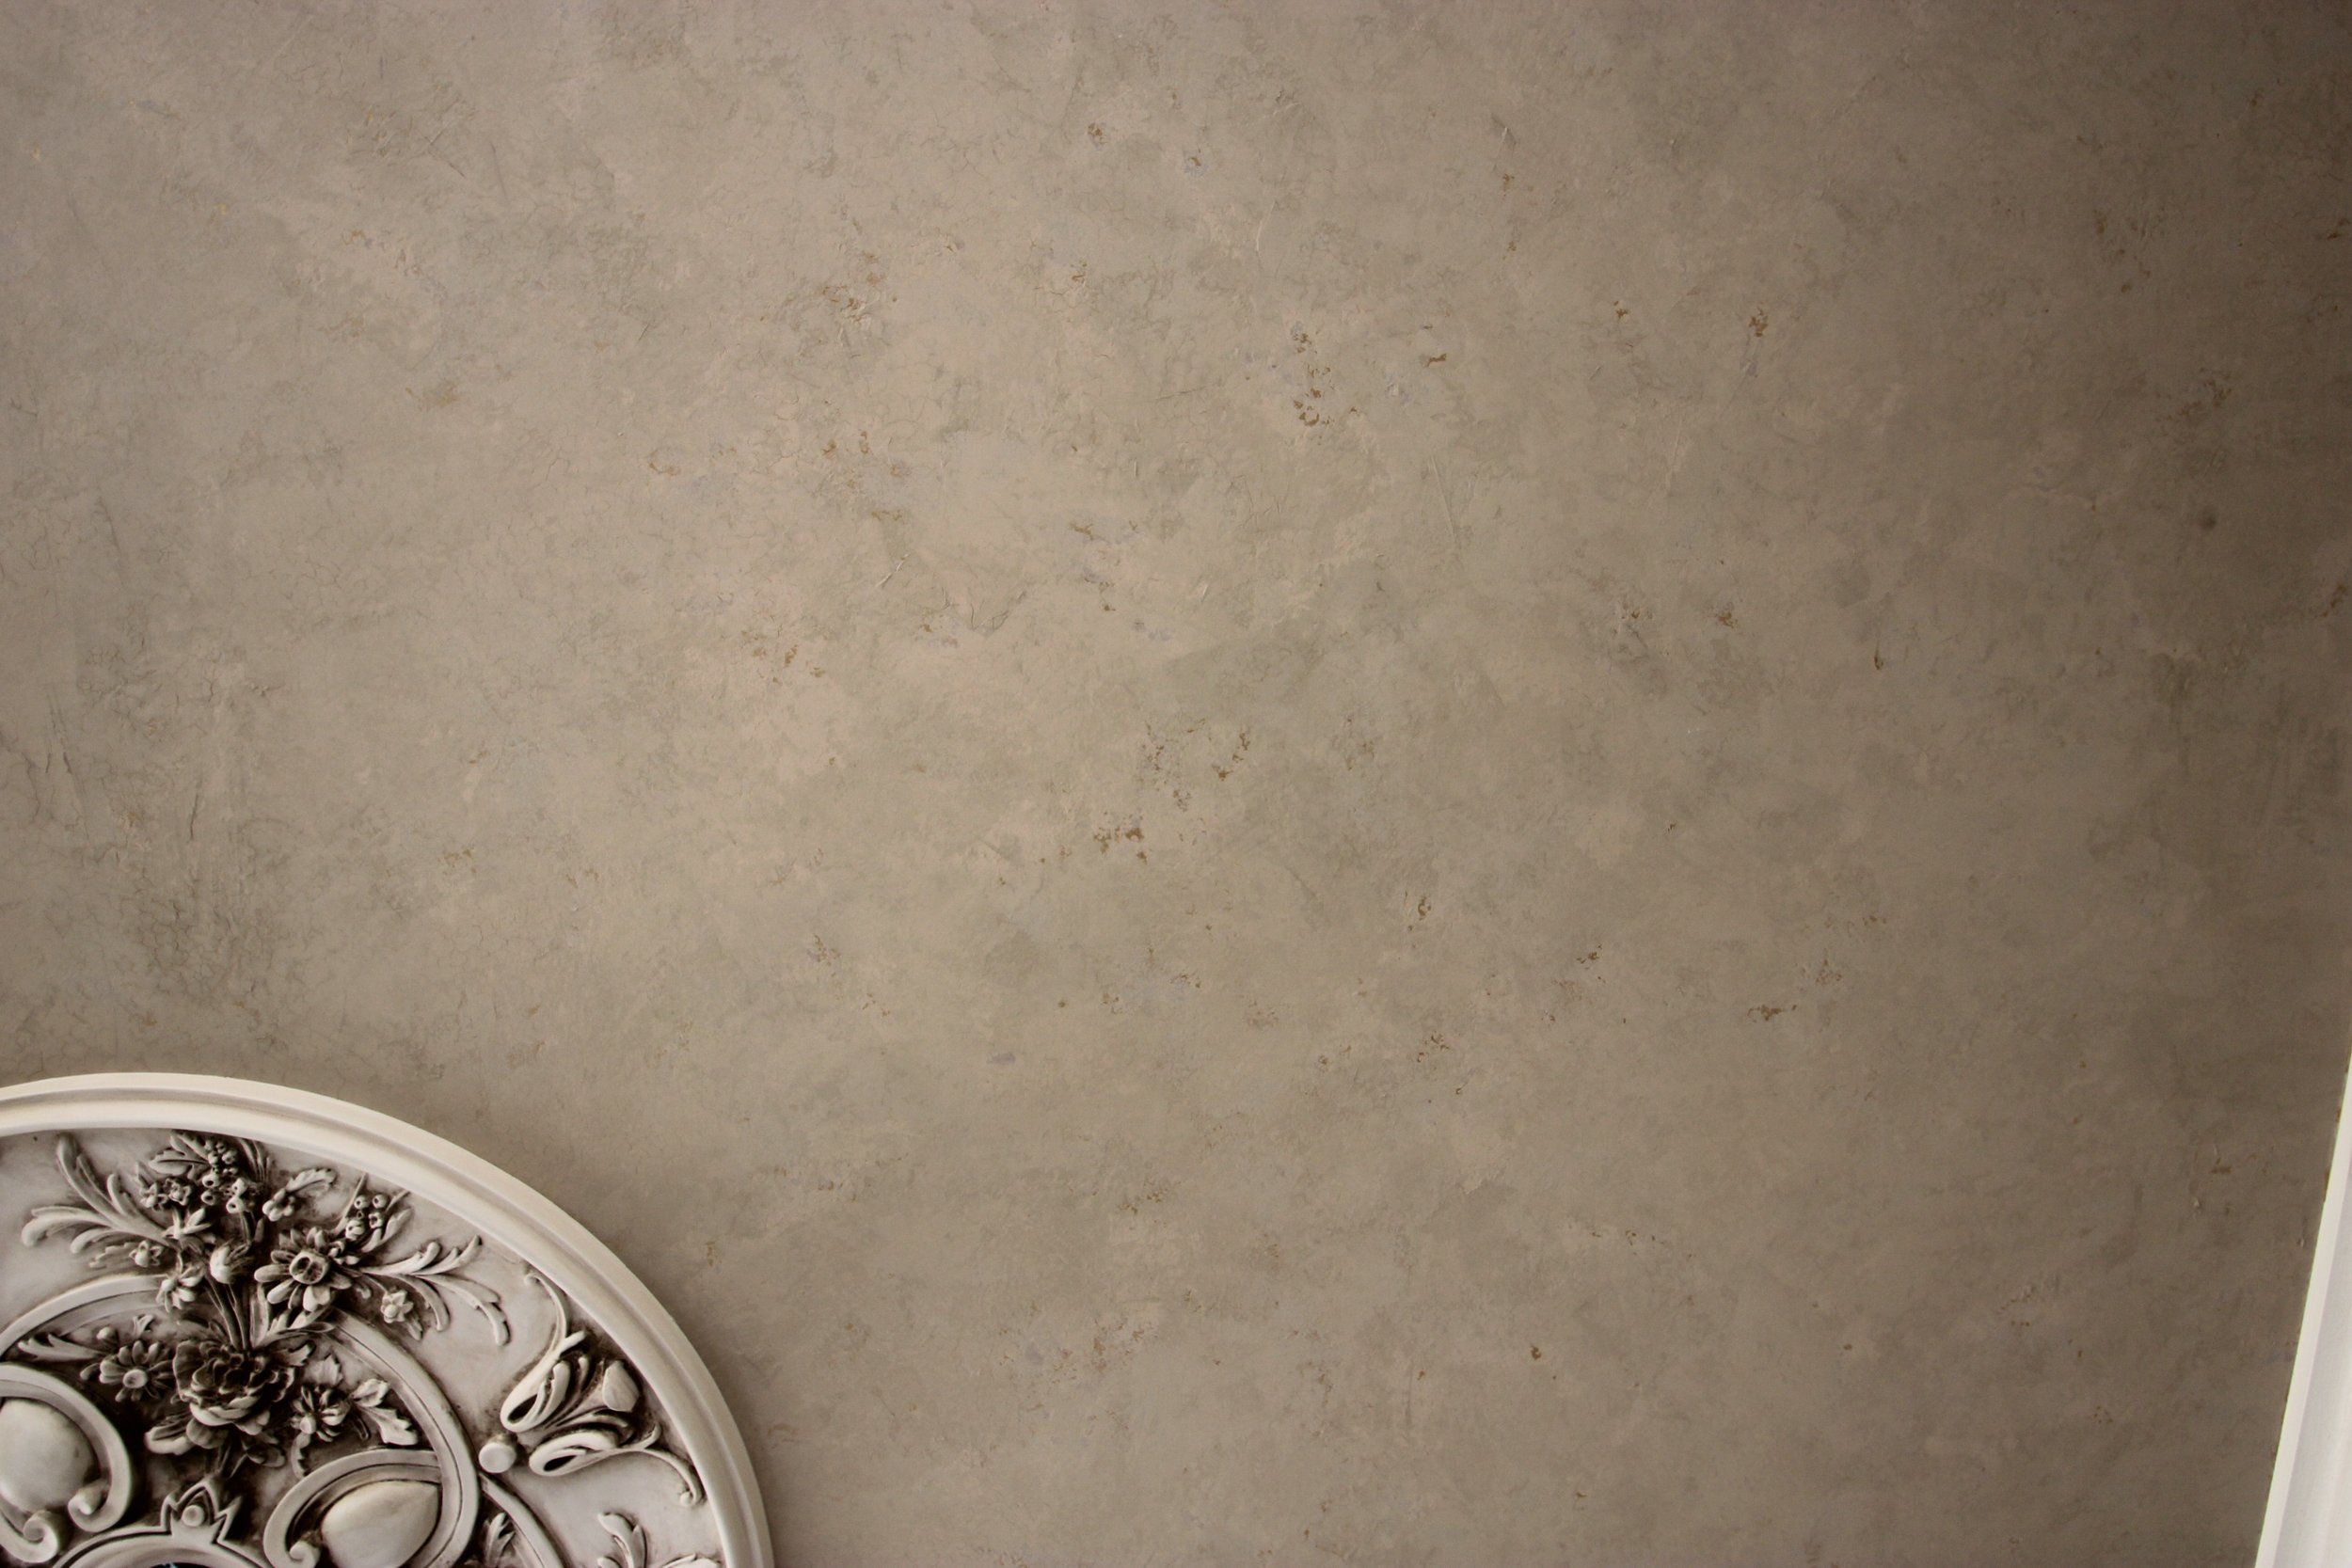
Its so hard to capture the subtlety so I pumped up the definition a bit. If you'd like to see the finish in person give me a call, I now have a sample that matches!

IMG_5621

IMG_5608

IMG_5606

The final result is what to me looks like what could be a deteriorated plaster with hints of old wallpaper discoloration on a Parisian apartment salon wall. It has a very subtle crackle with gold peeking though. The colors are all slight variations of taupe, grey, and tan. I am absolutely in love and have tried doing this type of finish several times with no success. I guess you could say it was a happy accident!

Making an Entrance

Recently I was asked by one of my lovely designer friends, Wendy Appleby of Your Home By Wendy, to add a little punch to this foyer.

photo-53

photo-53

photo-54

photo-54

The architecture had real potential and just needed something to warm up the walls.

IMG_5360

IMG_5360

IMG_5337

IMG_5337

The finish brings continuity to the living room and dining room which has a similar color scheme. There wasn't a medallion over the chandelier. Inspired by some of my recent projects we decided on a scrolling ironwork motif that ties in the finish on the fixture.

IMG_5361

IMG_5361

The door is a beautiful carved mahogany masterpiece. With a little faux bois on the trim it now fits in the space rather than sticking out.

photo-56

photo-56

IMG_5367

IMG_5367

And here were my helpers for the job! Eddie (the dog) and Mr. Squinkers (the ferret)

photo-57

photo-57

photo-53

photo-53

As always, thanks to the clients and to Wendy for the opportunity.

Knock on....wood?

Scan 21

Scan 21

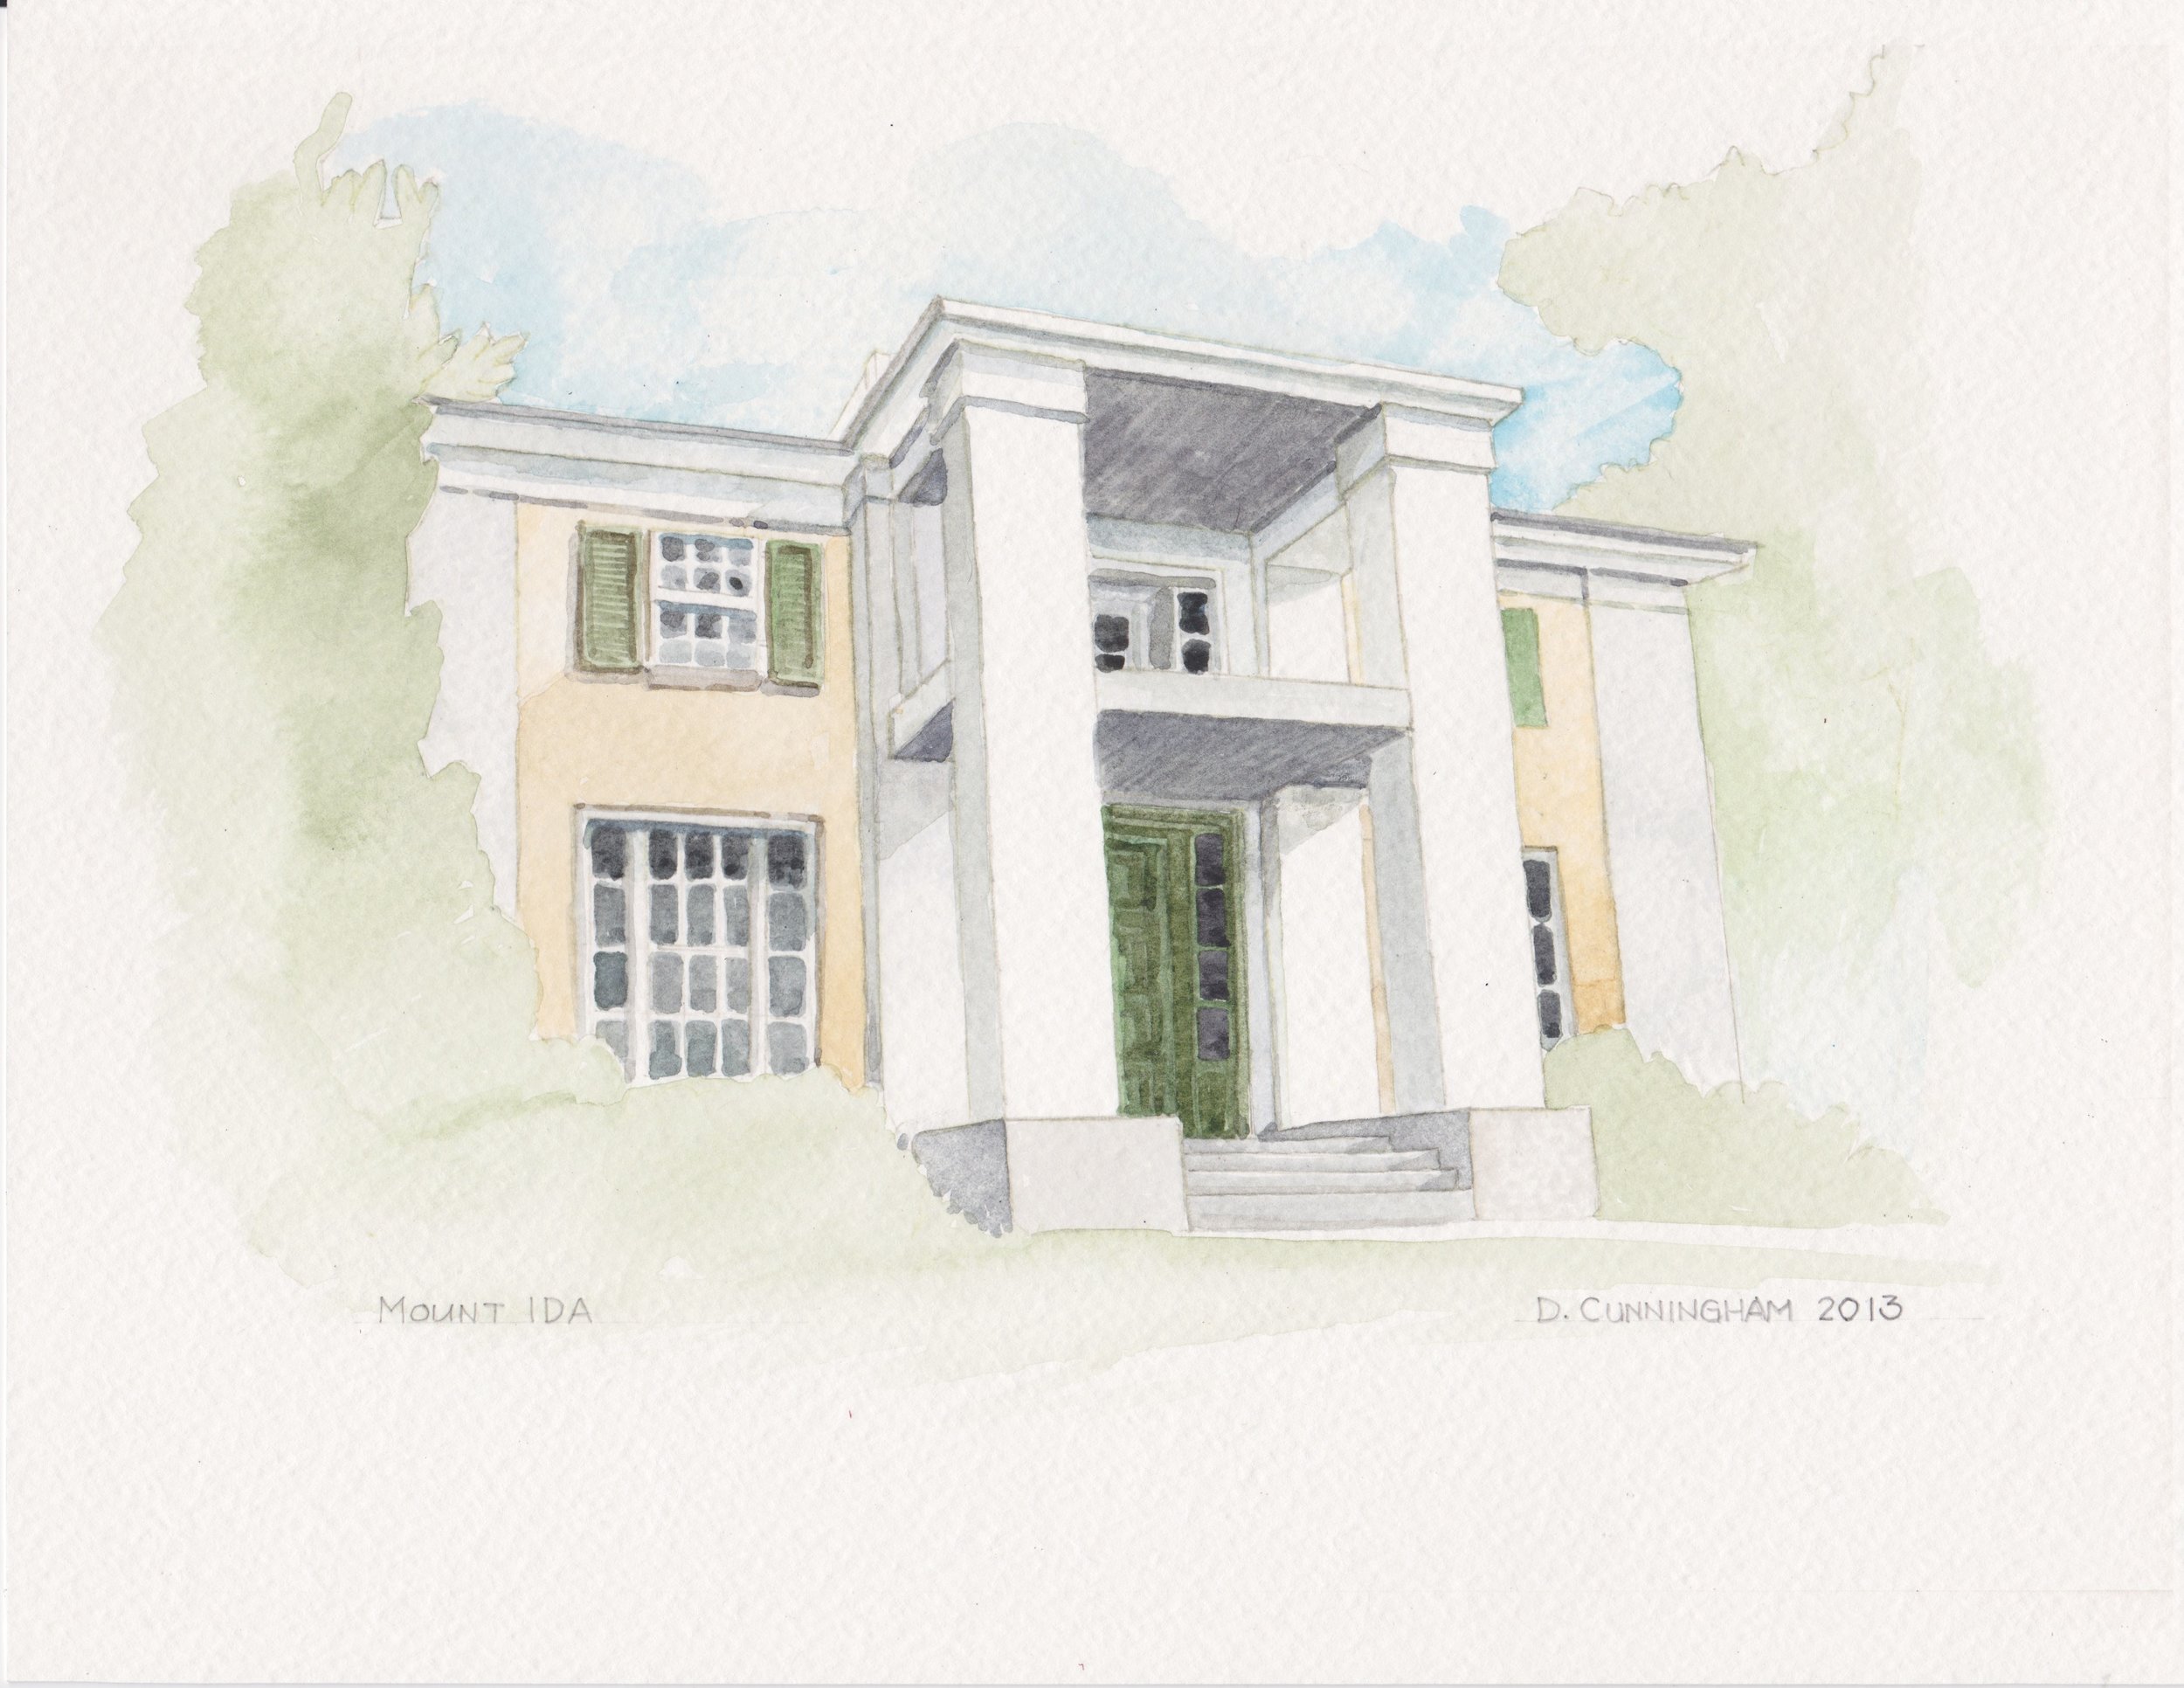
After a two year hiatus from participating in the HEC Decorator Show House, I have had the pleasure to design the grand foyer of this year's house, Mount Ida.  Knock on wood, that all of the efforts of the designers, volunteers, and workers will pay off with a record turn out of visitors! For tickets and more information, click here. My rendering for this year's promotional material.

Mount Ida is located atop the hill next to the Court House in Ellicott City.  Originally built in 1828 by members of the Ellicott Family, Mount Ida was built in the Greek Revival/Italianate style.  Sometime in the 1970's or 80's, the foyer was divided up into three spaces but has now been restored to all 30 feet of its original glory.  In designing the space, I wanted to honor tradition but had to add my own twist.

999168_287489418059852_335021569_n

999168_287489418059852_335021569_n

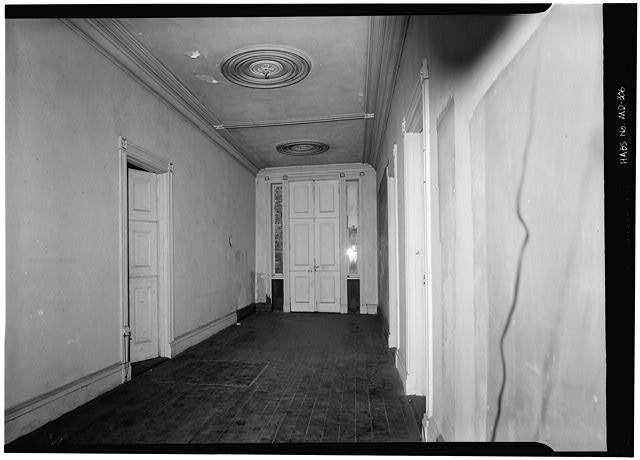
The original foyer, as seen in this photograph from the Library of Congress, taken in the 1960's.

IMG_4523

IMG_4523

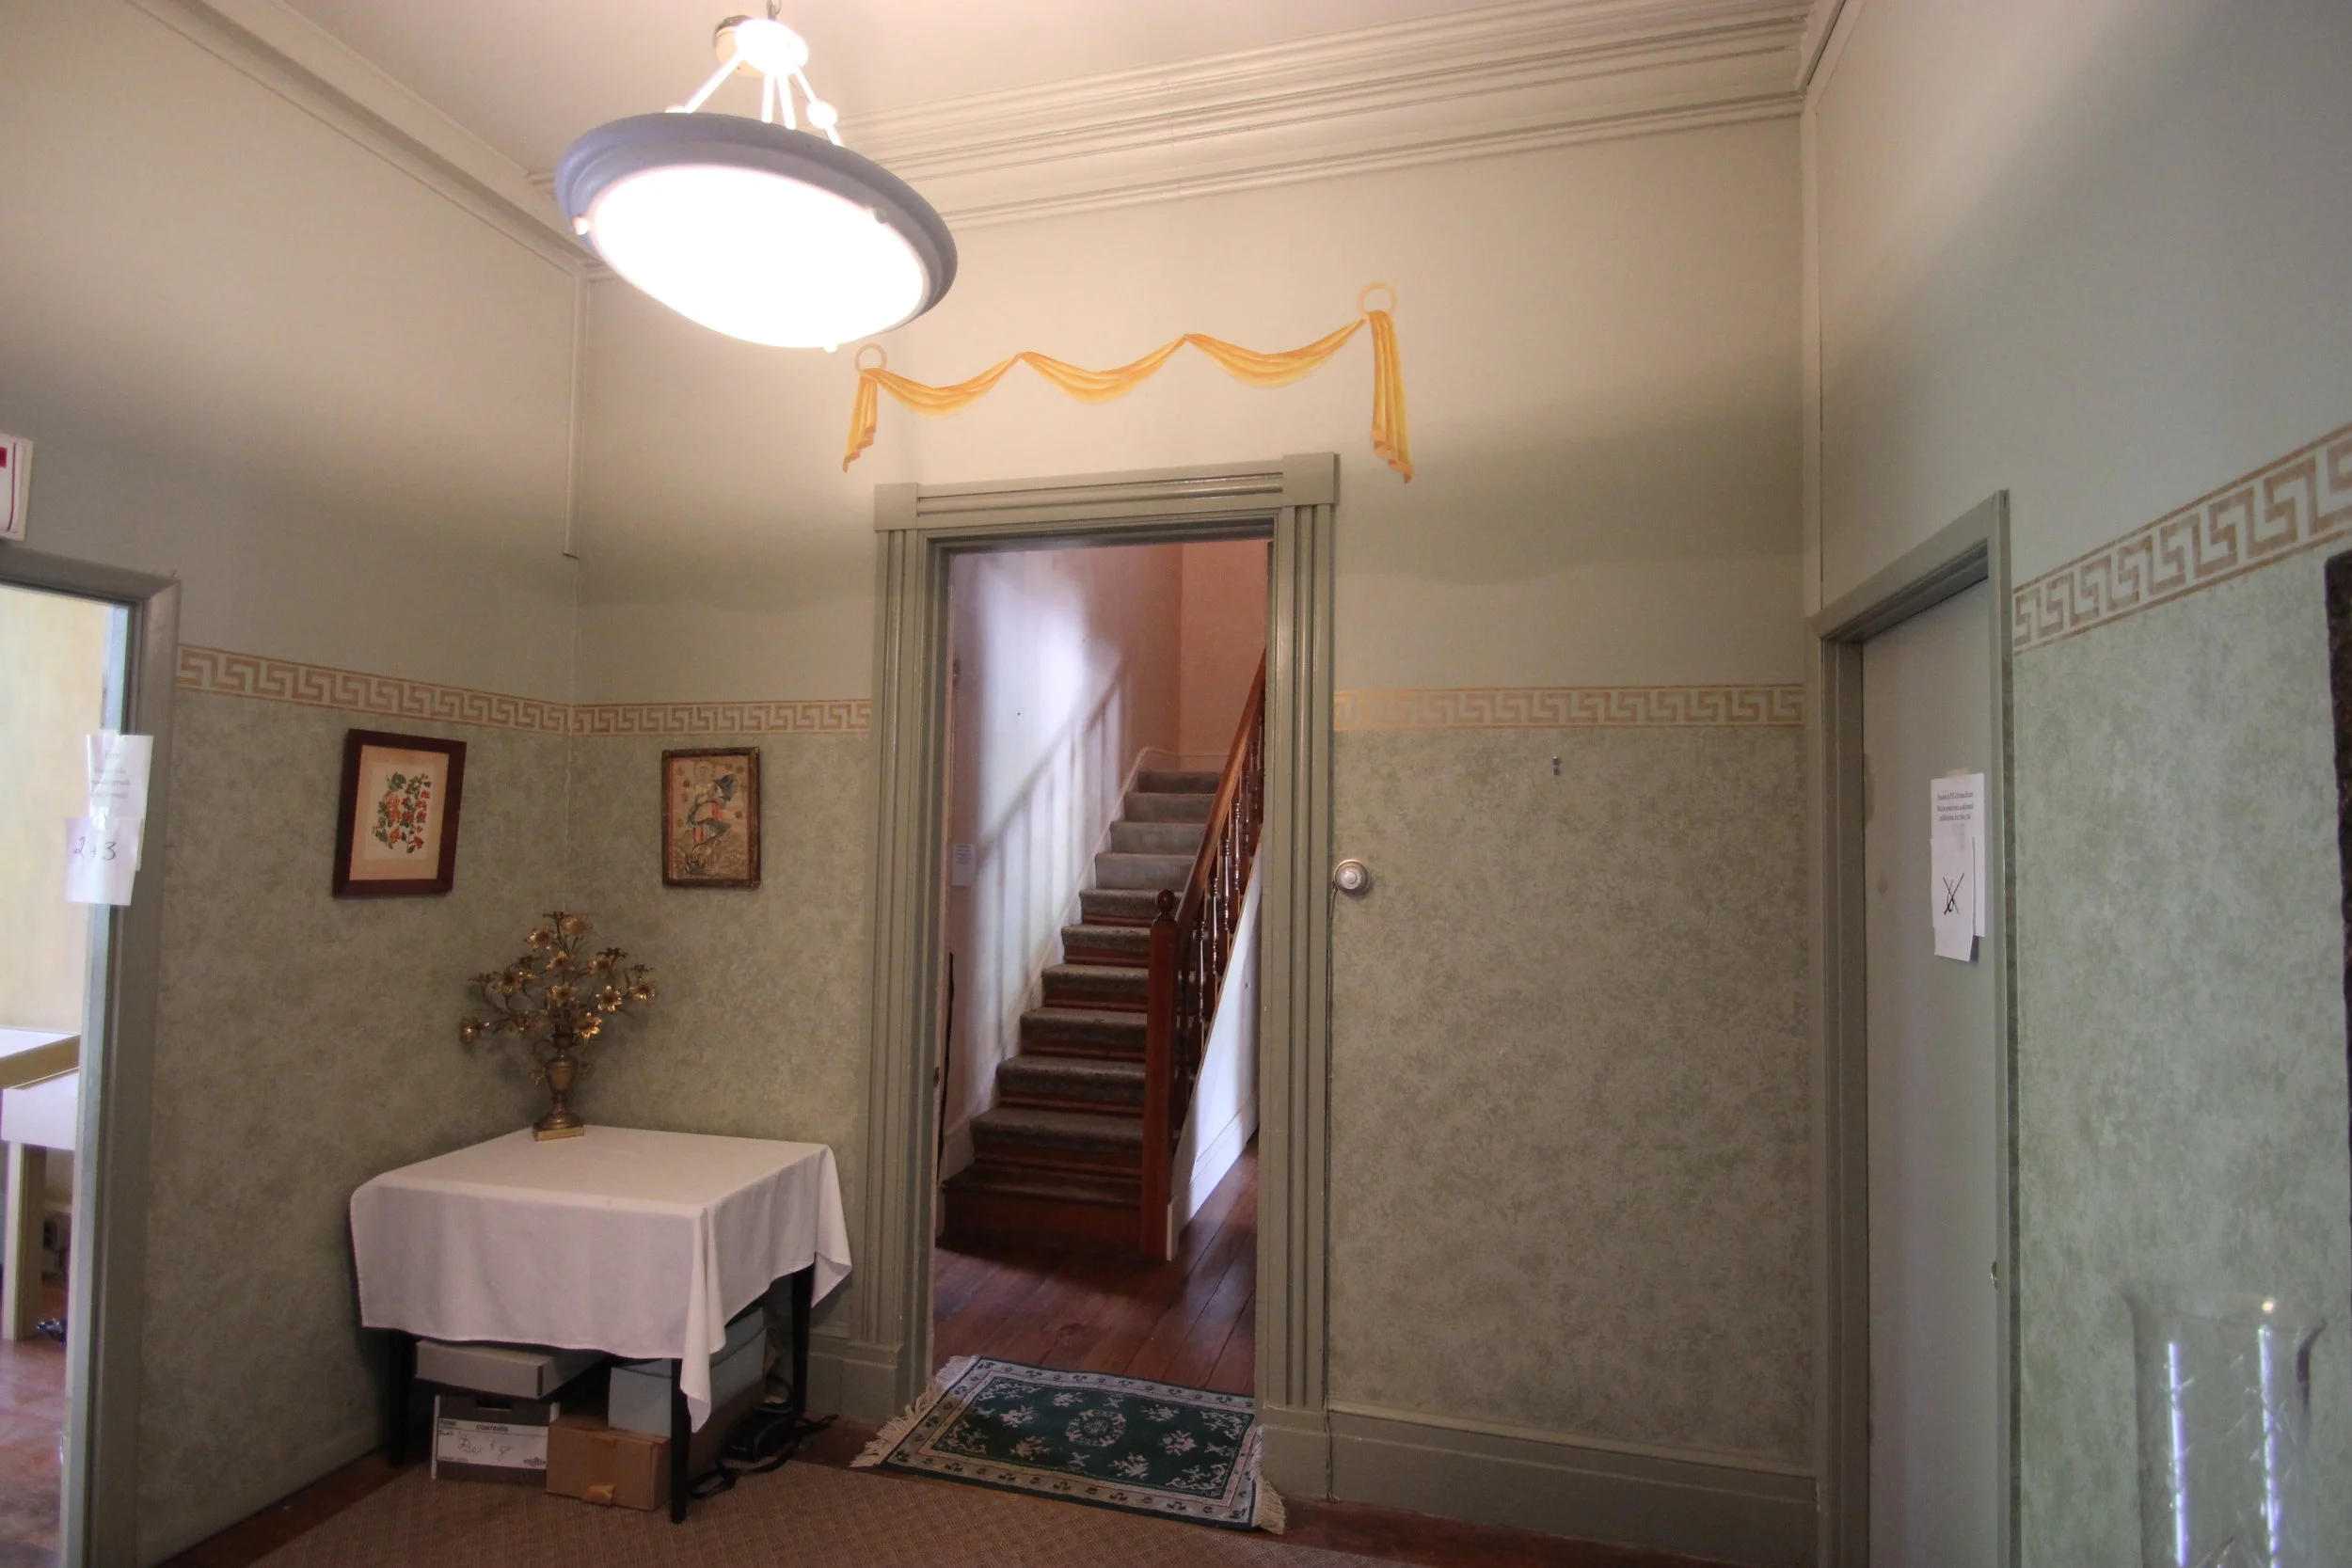
This picture shows what I saw when I did my walkthrough.  These partitions were put in place sometime in the last few decades and the decor was left from when Mount Ida was a decorator showhouse in 1995. This is taken from the same vantage point as the black and white photo above.

IMG_4527

IMG_4527

You then passed from the first space into this room. This is the central area of the foyer. The door to the right led to an office.

The first thing that happened was all of these walls, including a wall covering the back doors were taken down.  Repairs, scraping, cleaning, painting, and more painting took place over the course of 8 weeks.

And here are a few images of what my space looks like now just to tease you!

IMG_4922

IMG_4922

Knock on...wood? You will have to come see for yourself!! ;)

IMG_4936

IMG_4936

Look closely at the chandeliers that Bill Knapp fabricated. Can you tell what they're made from?

IMG_4935

IMG_4935

This is Brian, the contractor who HEC hired to do all of the renovations that needed to be done, like fixing the waste stack that exploded in my space the week before I was to start. (I know. gross.)

--------

I really have to thank several people for making my vision happen.

-Paula Henry of Simply Put Interiors for help with the design layout, moral support, and great friendship.

-Bill Knapp, Bill Knapp Arts, for without him we would be in the dark.

-Alison Roy-Harrison of Columbia Interior Finishes for doing all of the basecoating for my space.

-Phil Adams from Floors Etc for my area rugs (all three of them!)

-Amy Alder for her upholstery expertise

-My mom, Carol Lenehan for her immaculate sewing skills on the skirted tables.

-My dad, Kevin Lenehan, for helping me build the skirted tables and wiring the chandeliers (all three of them!)

-Barry Sheehan- Metal in Motion, for helping out with my brainfart that "there should be a sculpture here..."

-The volunteers and members of HEC, Inc.

and Mikey, for his patience.

-------

We all hope to see you there!